If you’re looking to boost your total mount collection then you’re in luck as there is a surprising amount of mounts in World of Warcraft that you can collect in just a single day of playing.
In this list you’ll find 50 total mounts that you’ll be able to get in one day, not just some of them but all of them if you have a long enough period to play. To achieve that we aren’t looking at mounts that rely on low drop chances or weeks of dailies, instead things that can be picked up with a few quick steps or a short grind.
I’ll be assuming you have already unlocked the different expansions and their relevant features that we will be visiting in the guide. However if you haven’t then Zygor can make that a whole lot easier for you, with step by step guides directly inside WoW that can help you with old campaigns, questlines, feature unlocks and even a lot of the mounts covered in this guide are already prepared within Zygor.
There will also be a handful of conditional mounts that I’ll mention that you should check if you have some spare time.
Mount List
Under 10 Minute Mounts
Up first are the mounts you can knock out in record speed, if you only have a short time to play then these are the ones to target.
Harbor Grypon and Scarlet Pterrodax
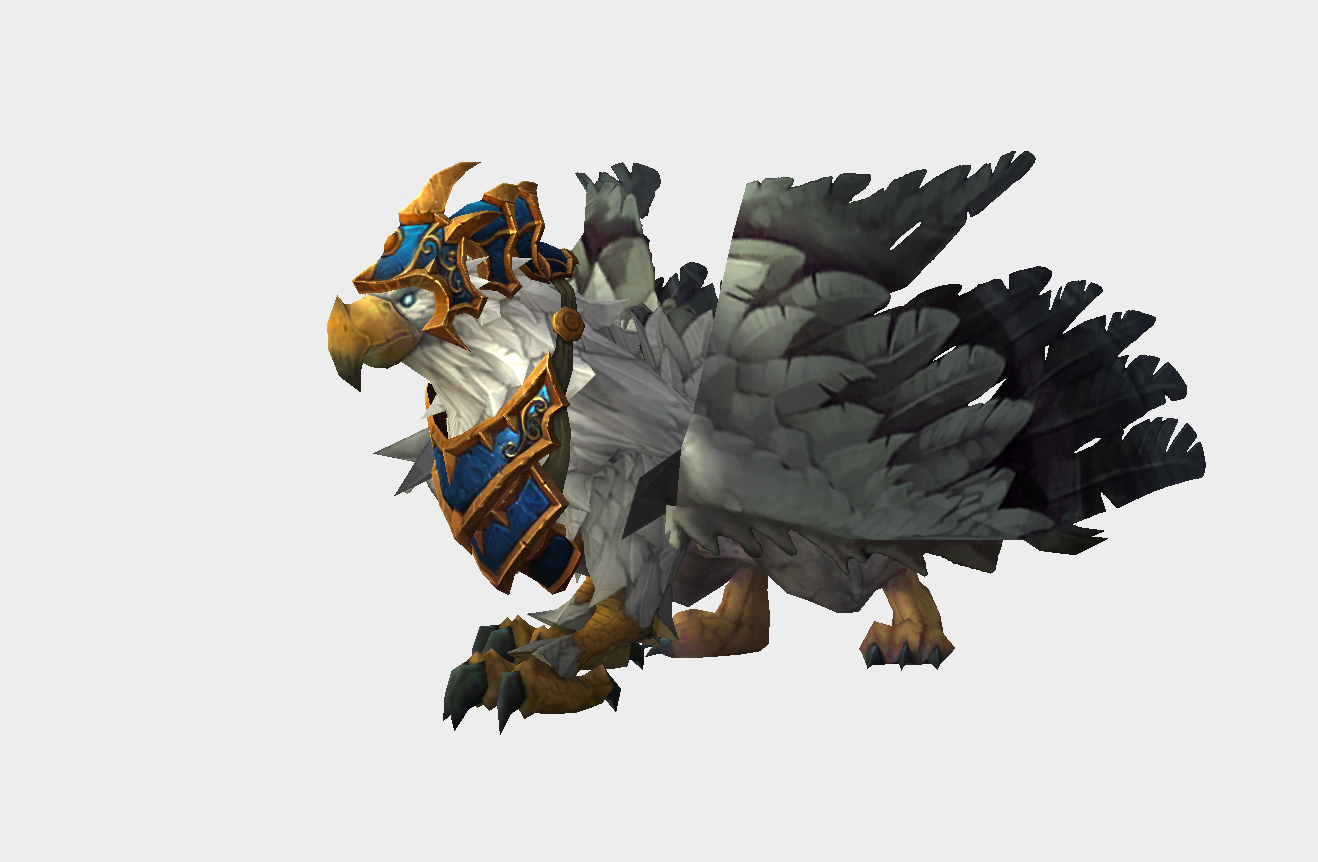
These two are extremely quick pickups. They are faction specific but obtained in similar ways.
For Alliance head to 70, 13 in Boralus and complete the Time To Fly quest
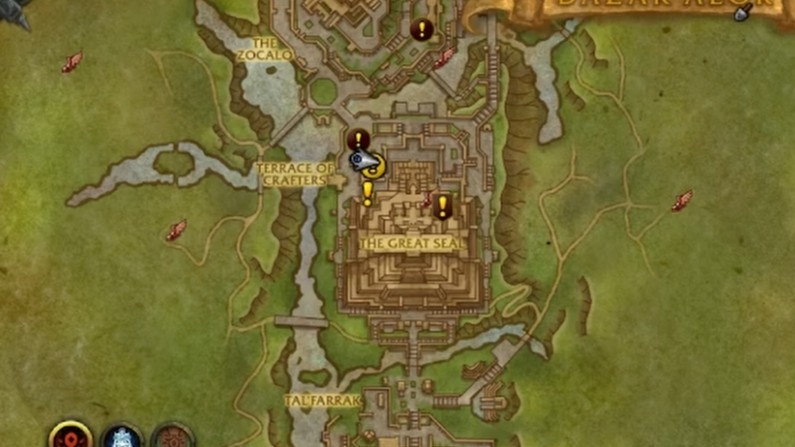
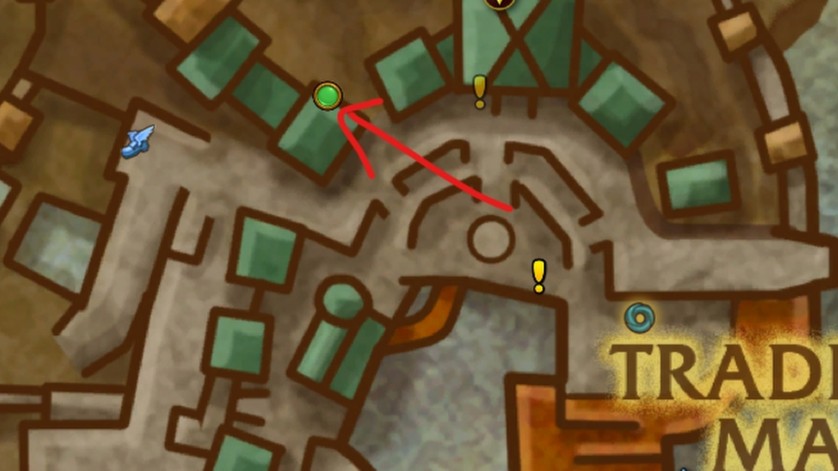
For Horde You will get yours from the bottom of the Great Seal in Dazar’alor at 46, 35
Insatiable Shredclaw
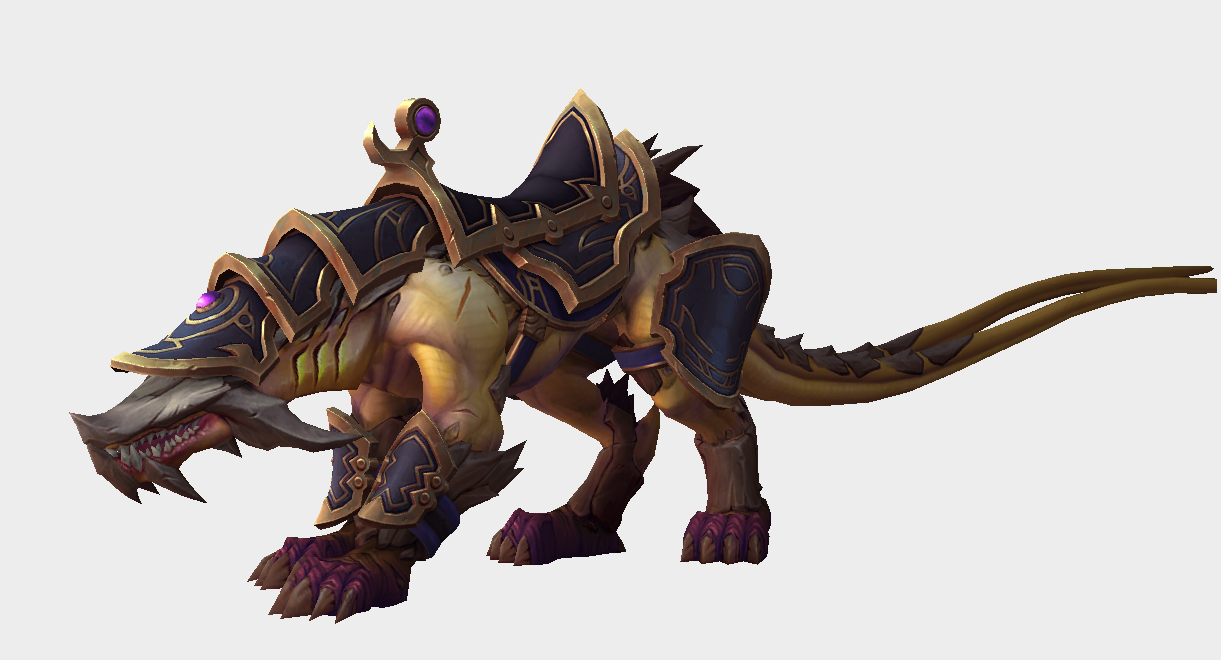
The Insatiable Shredclaw comes from the Final Clutch of Predaxas treasure from in the south side of Voidstorm.
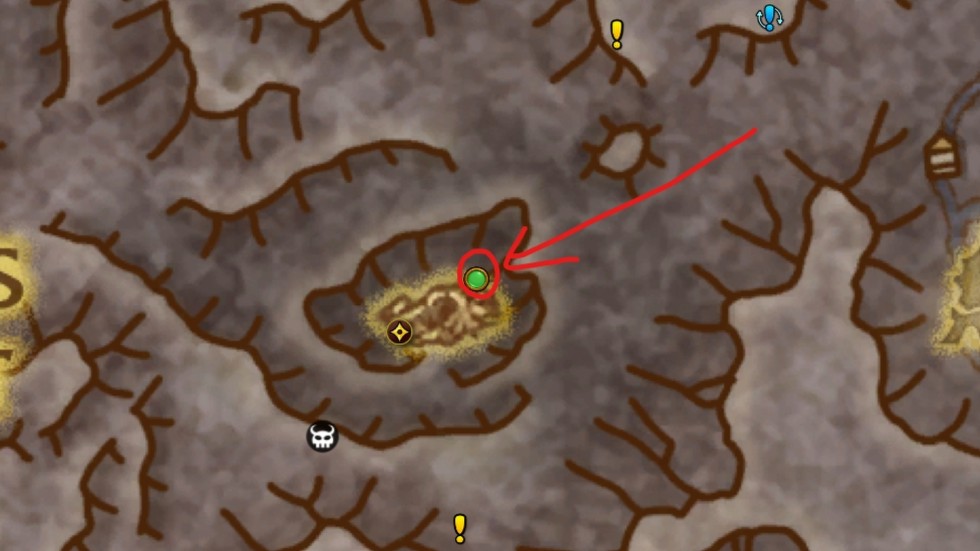
Here you will find a cave to enter and as you progress through the cave you will reach a gauntlet.
The path moves in a predictable way, wait for it to return to the beginning and follow it, at around half way will be a small gap on the right for you to wait in, stay here until it passes again and follow to reach the treasure, loot it and you have the mount.
Black and Twilight Drake
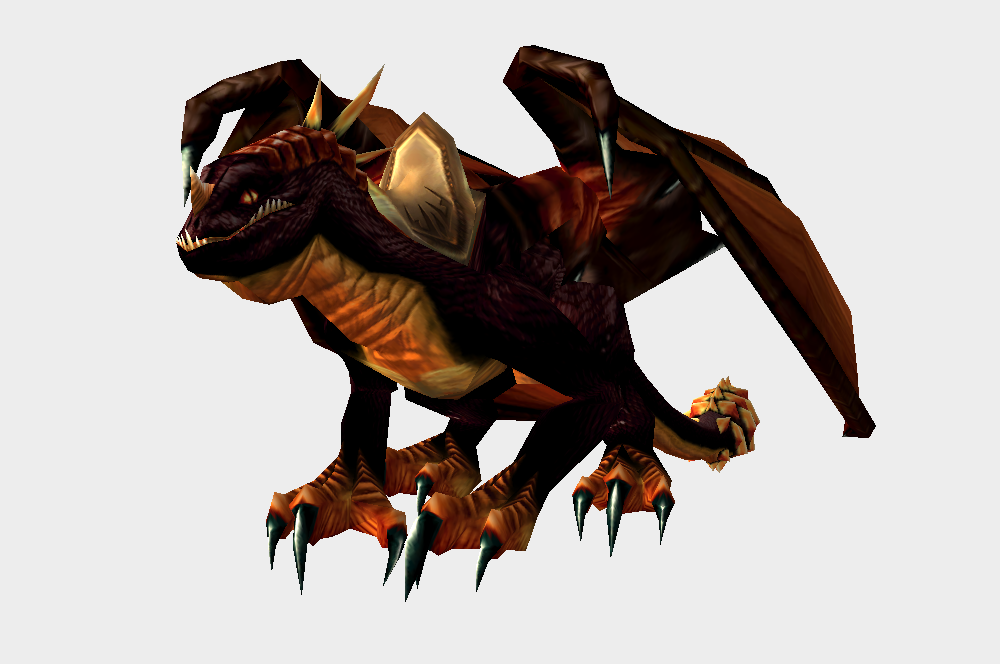
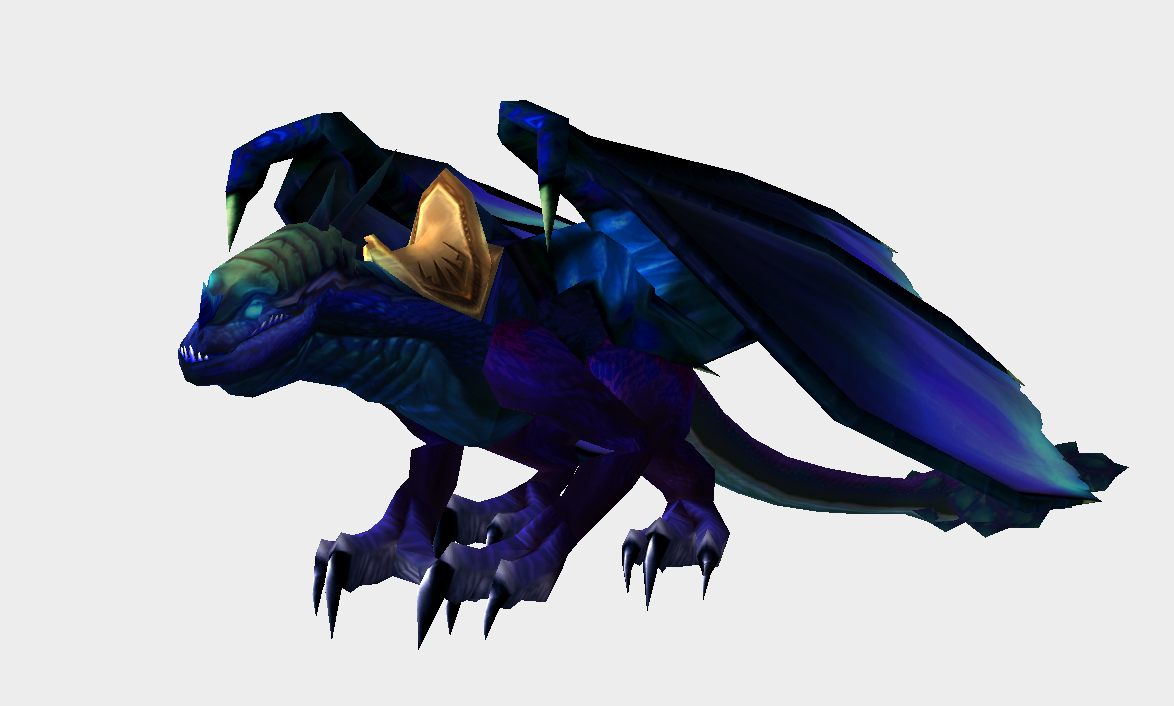
The Black and Twilight Drake both come from the Obsidian Sanctrun raid that can be found beneath Wyrmrest Temple in Dragonflight.
These mounts drop on 100% chance as long as you defeat Sartharion without killing any of the three Twilight Drakes around the room beforehand.
The Black Drake will drop from the 10man version of the raid and the Twilight Drake will drop from 25man. To change the raid size right click your character portrait and change it under the Raid Difficulty section.
You will get locked to both 10man and 25man for the week at the same time, so you will either need to wait for weekly reset or run this on an alt but it’s extremely easy content now, so your character doesn’t need to be max level to complete this.
Wildseed Cradle
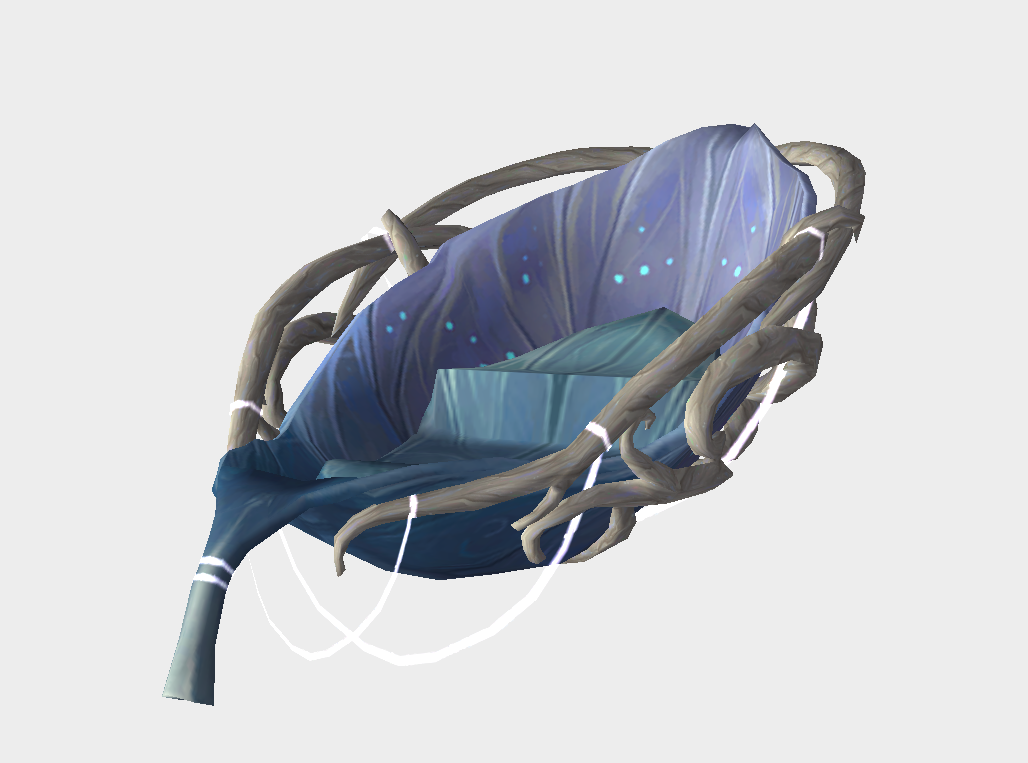
The next mount is the quite unique Wildseed Cradle, for this head to Ardenweald in Shadowlands.
You’ll need to collect the five items you can fin around the Garden of Night. Some of them are slightly hidden but not too difficult to find overall.
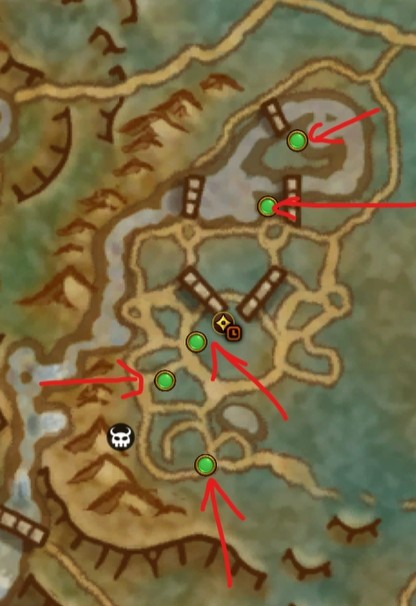
#1 /way 40, 53
#2 /way 49, 54
#3 /way 39, 57
#4 /way 38, 58
#5 /way 39, 59
Once you’ve collected all five, click one of them to combine them together and then head to Tirna Vaal in the same zone.
Here you will find an NPC called Twinklestar, speak with them and return the basket to them. In return you will receive a buff that allows you to see a cache behind the NPC. Loot this for the mount.
Shimmermist Runner
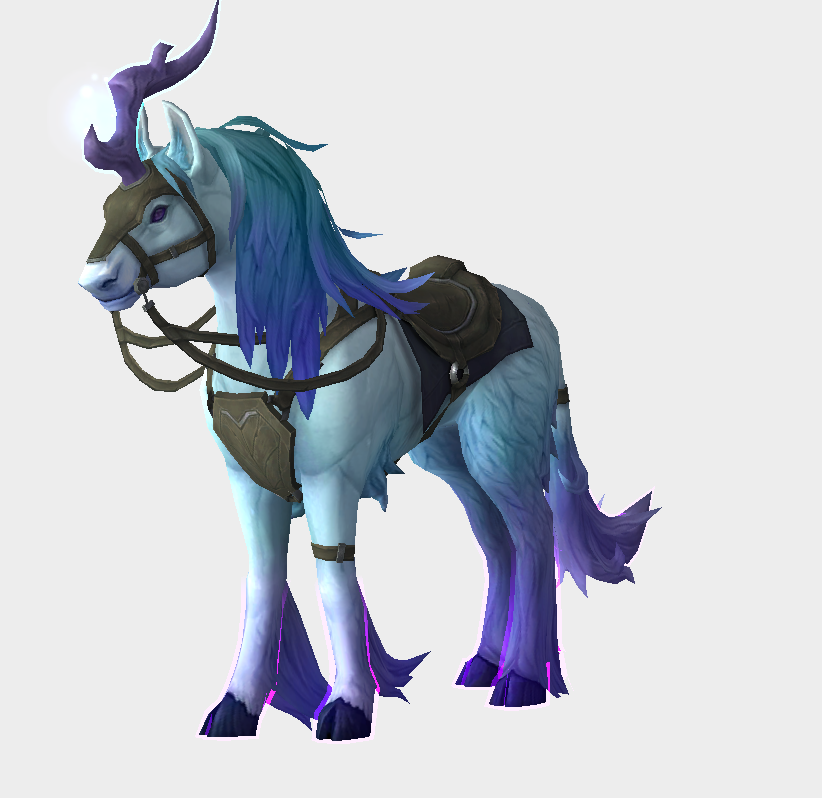
The Shimmermist runner can also be obtained from Ardenweald. For this head to the Mistveil Tangle.
Here you have to complete a maze in a particular order, if you fail to complete it correctly then the elite enemy at the end will phase out.
Ensure you start from the very top of the ramp just before the lantern and if you make any mistakes you have to return to this position to restart.
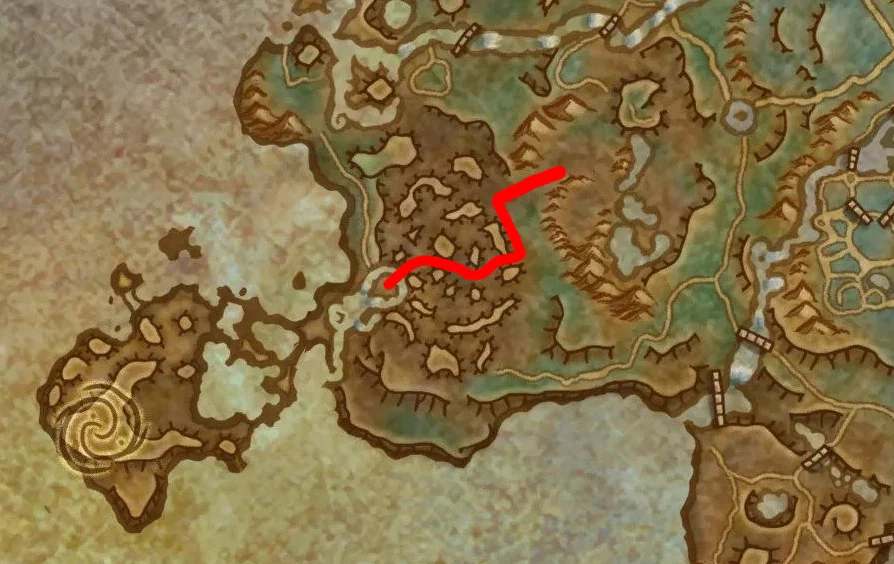
For the maze it’s self, head down the ramp and take the first left available
Then take the first right available
Next take the path that is slightly on the left side
Now take the first right
You will enter a larger area with multiple options, you want the third option on the left.
If you did it successfully you should now see an elite called Shizgher, defeat them and click on the mount to receive it.
Slime Serpent
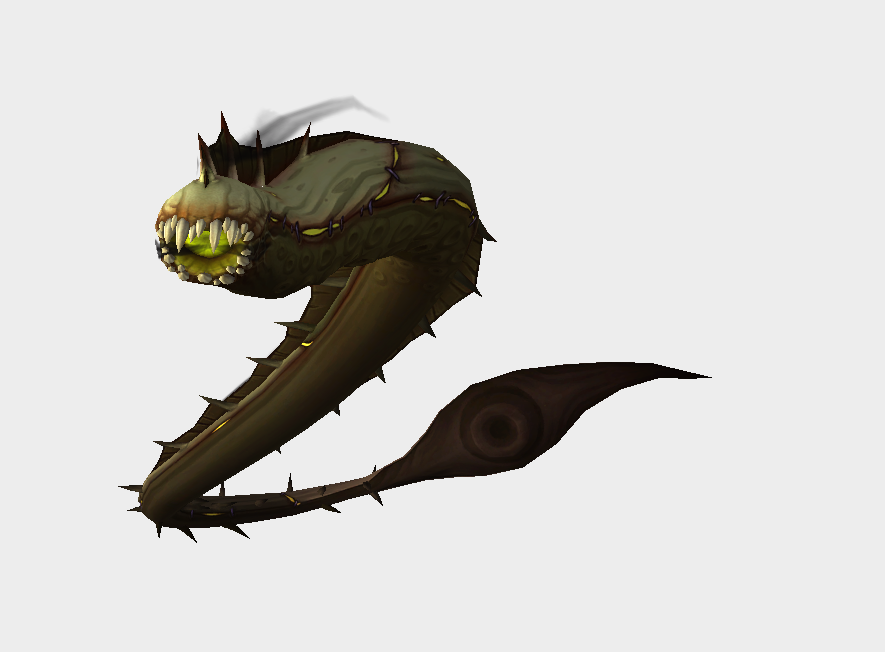
The Slime Serpent comes from the Plaguefall dungeon on Heroic or Mythic difficulty but is a guaranteed obtain as long as you do the required criteria.
Firstly head to the dungeon which can be found within Maldraxxus and you need to enter on Heroic or Mythic solo, so ensure to leave any parties you are currently in.
Once inside you simply need to defeat each of the 4 bosses solo which is extremely trivial as a max level Midnight character.
After defeating the last boss Margrave Stradama, head back towards the pool of slime you initially fell into, before reaching the pool there will be something you can interact with on the right side, this will return you to the third bosses area.
On the left side in the slime will be the Slime Serpent waiting for you, head over to it, click it and obtain the mount.
Void-Corrupted Hex Eagle
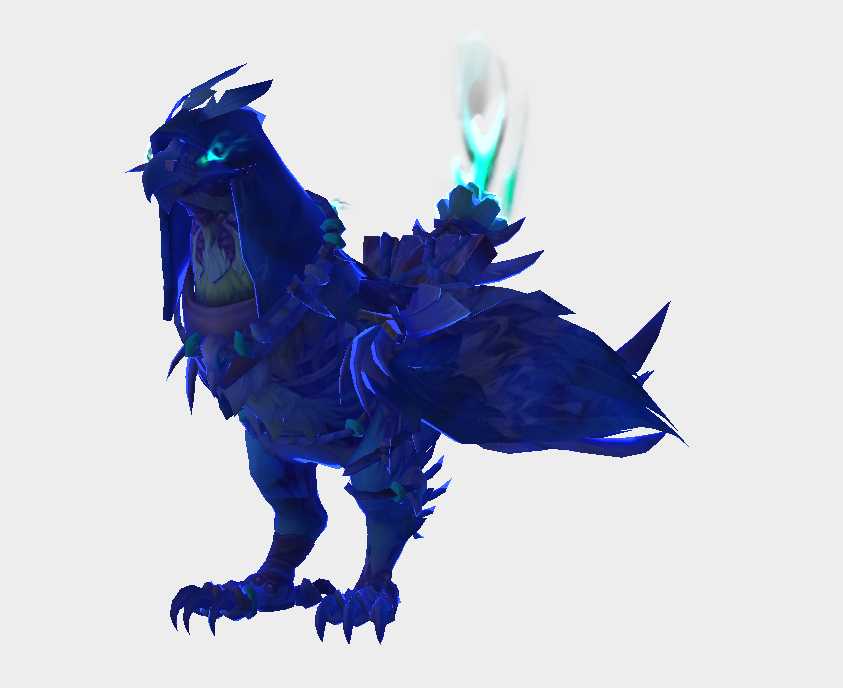
You’ll obtain the Hex Eagle and the next mount the Witherbark Warbear Mother from the same place although it will need to be a week that the Broken Throne Ritual site is active, if it isn’t active you’ll have to wait for weekly reset for it to rotate back over to the Broken Throne.
If the Broke Throne ritual site is active within Zul’Aman for the week then get yourself 6 Practically Pork and set it to a minimum of Tier 2 difficulty but anything higher is fine also.
Once inside head over here and you will find the Misplaced Ritual Candle on the ledge. Collect this and take it to the nearby ritual circle.
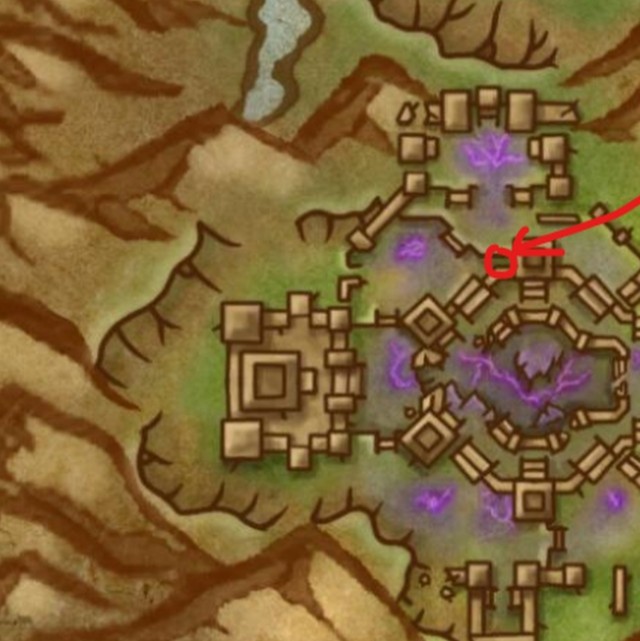
Here will be a clickable candle in the center, ignore that for now and instead click the skull on the right side of the circle. This will place the candle you just obtained, completing the ritual circle.
Now click the central candle and an elite eagle will spawn, defeat this and loot for the mount.
Witherbark Warbear Mother
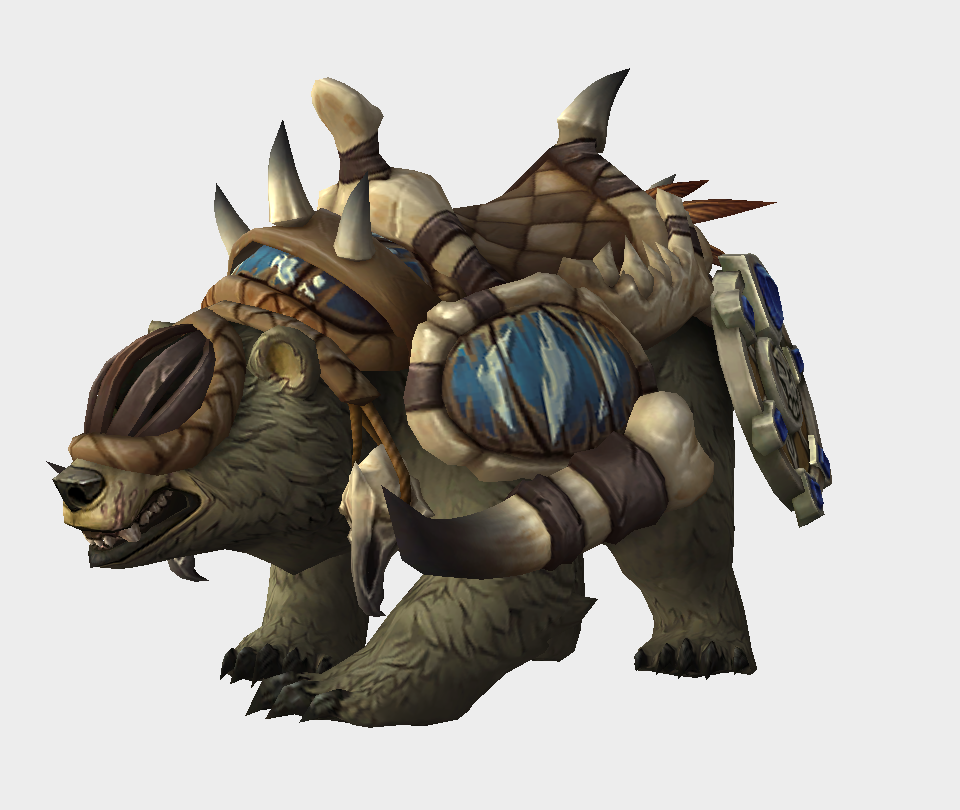
For the next mount head over to the first large staircase here and jump off onto the platform below, here next to the tree you will find a stealthed cub, interact with it and feed it the Practically Pork you purchased earlier, you will now obtain a pet.
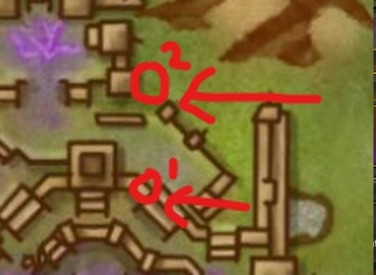
Click the pet to add it to your collection and summon Chubs, now head up the stairs to this area.
Here will be an Angry Amani Warbear, defeat it and feed it the rest of your Practically Pork to receive the Witherbark Warbear Mother mount.
Delver’s Arcane Golem
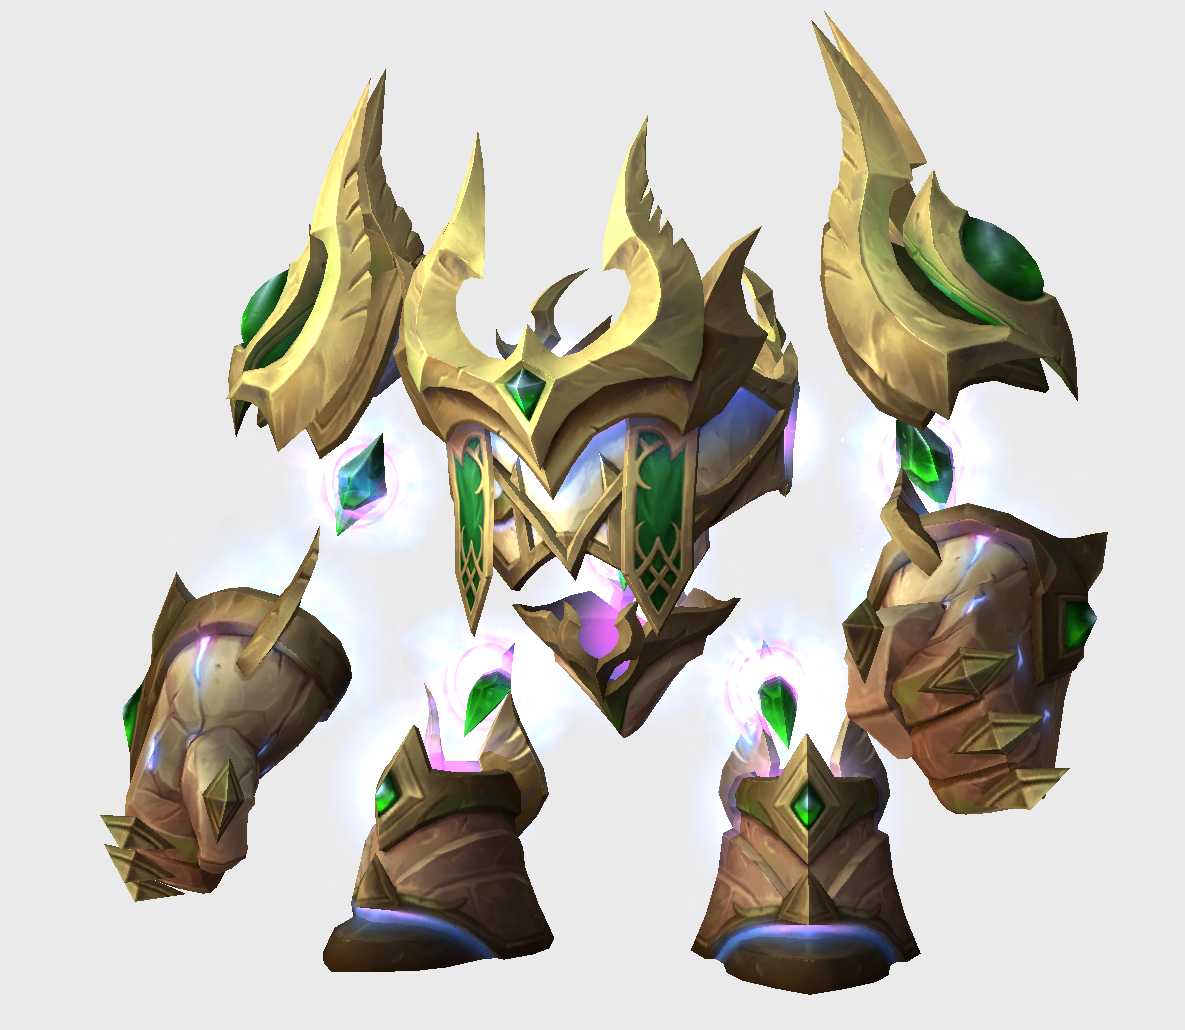
The Delver’s Arcane golem is a super fast pickup from patch 12.1.
Head to the Gnarldor Isle delve on the Coiled Isle, the delve tier doesn’t matter so head inside.
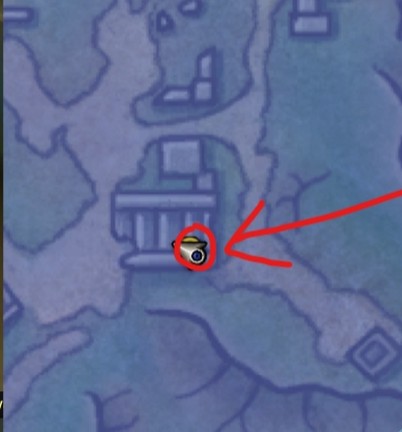
Once inside on the left side of the Delve at /way 60, 68 you’ll find a Sturdy Chest on the corner of a ruined structure.
Look this and you’ll receive the mount
Ancestral War Bear
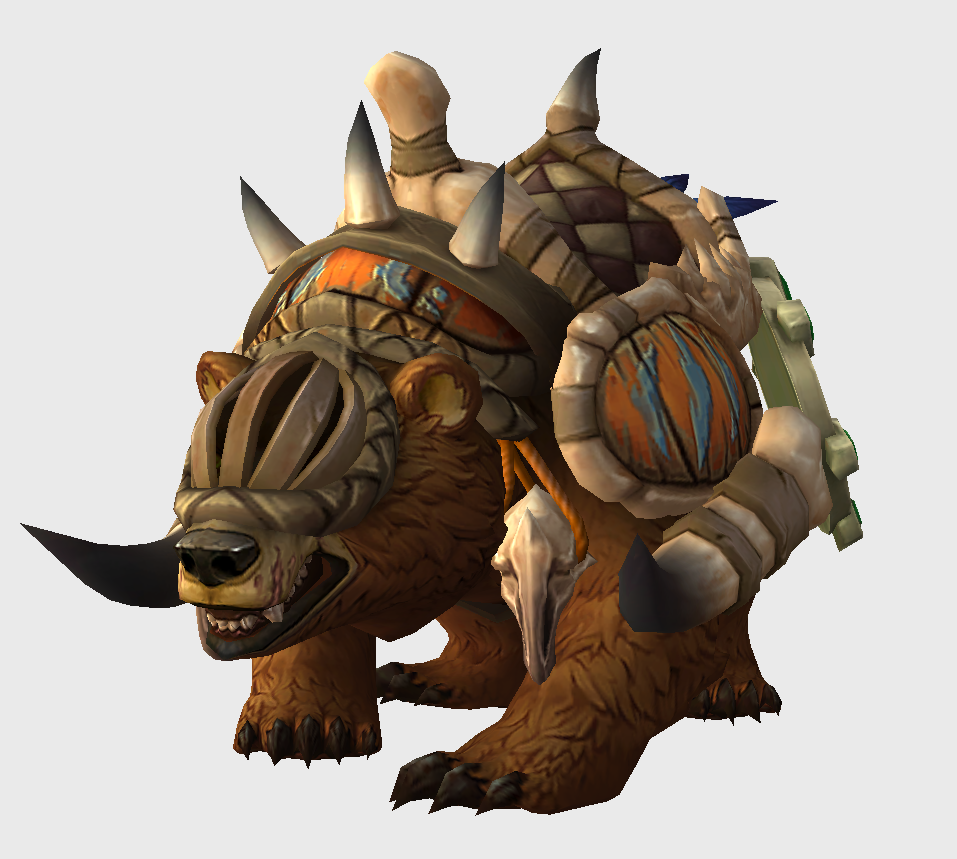
The Ancestral War Bear is obtained from a treasure in Zul’Aman.
The first step is to visit the treasure itself which can be found inside a large tree, you can enter it from a whole thats on the side of the tree.
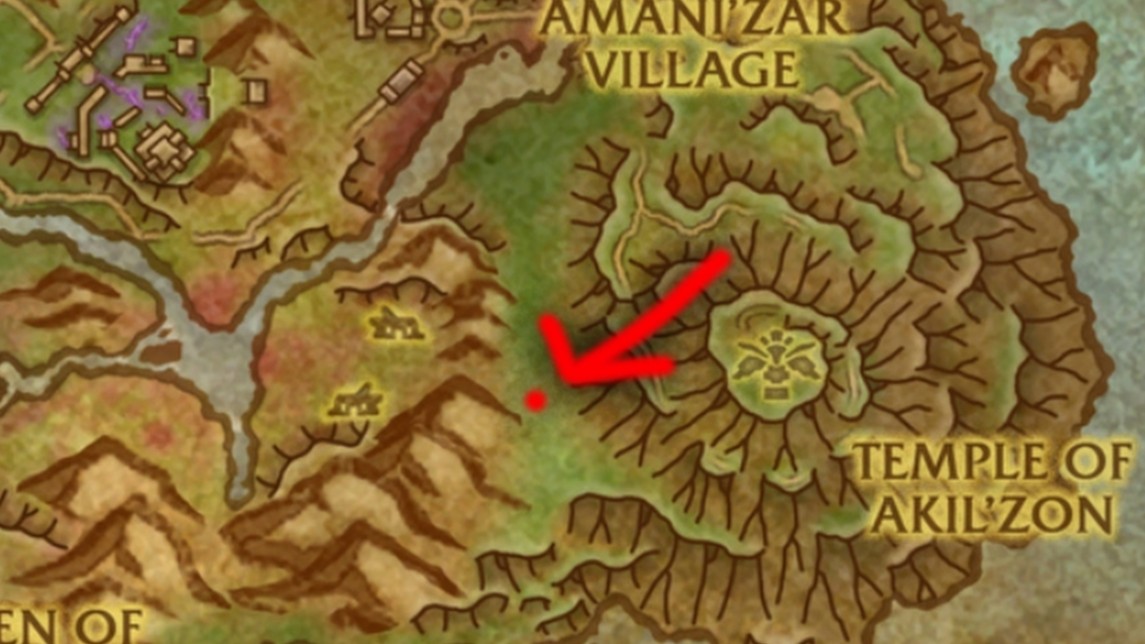
Once inside the tree, click the treasure. Now you are able to interact with various objects across Zul’Aman, there are four total and each will spawn a spirit, this spirit once defeated will drop an item you need.
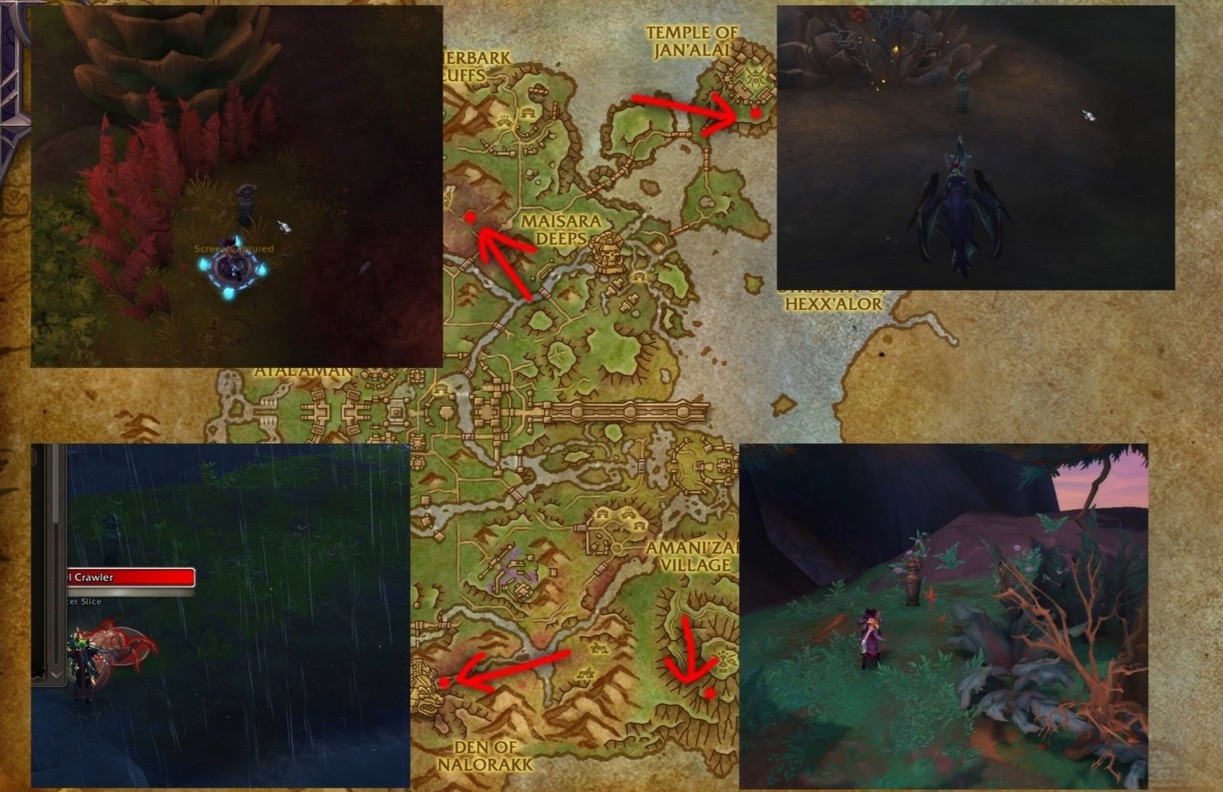
Travel to each of the four objects, click it, summon the spirit, defeat them and loot the items. Once you have all four, return to the treasure, now you can loot it for the mount.
Amani Battle Bear
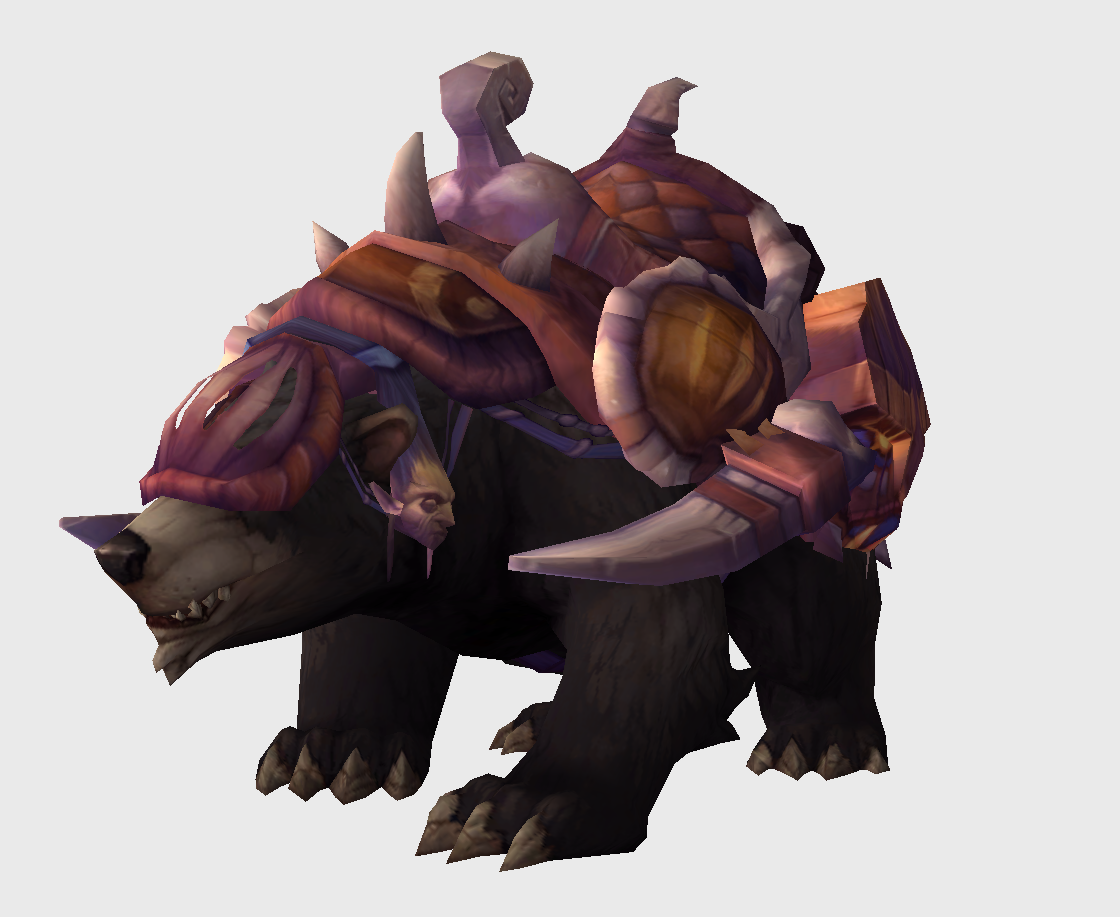
The Amani Battle Bear is a guaranteed drop from the Zul’Aman dungeon.
You’ll need to firstly be in the old version of Quel’thalas, for that head to the bronze dragon NPC at the boarder of Eastern Plaguelands and Quel’Thalas. Here you can either enter the portal or speak with them to visit the pre-Midnight variation.
Now head to Zul’Aman and enter on Heroic difficulty. You need to speak to Vol’jin, click the gong and now a timer will start.
You have to defeat the first four bosses within this timer which is of no concern for a leveled character.
Once the fourth boss is defeated, free the nearby prisoner, they will run around breaking pots, wait for them to break the final large pot and a bag will be lootable, loot this for the mount
tart breaking pots, wait for them to break the larger pot, inside this will be a bag with the mount inside.
Magmashell
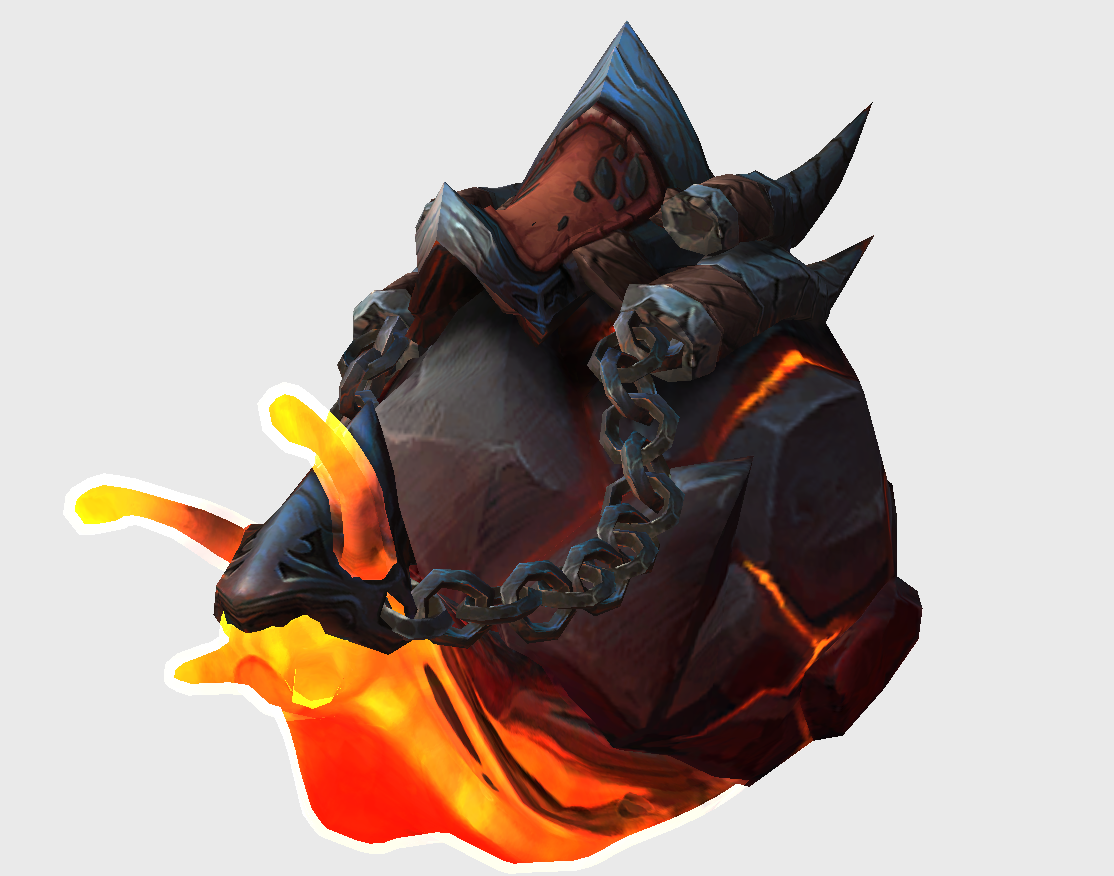
The Magmashell is another fairly quick mount but requires you to get a Empty Magma Shell which you have two options for getting it.
You can either purchase an Empty Magma Shell from the Auction House, which is normally only a few thousand gold, or farm one yourself from the lava slugs and snails around the Obsidian Citadel lava areas in the Waking Shores.
Once you have an Empty Magma Shell head to this lava pool in the northeast side of the Waking Shores at /way 72, 26. Inside the lava will be an Empowered Snail, unless someone has completed this recently in which case you may need to wait a few minutes for it to respawn.
You now need to jump into the lava and use your Empty Magma Shell on the snail. There will be a fairly long cast and you need to survive in the lava until it finishes, so use any healing over time or defensives that work against lava ticks, for example Aspect of the Turtle before entering the lava completely negates it!
Once the cast completes you’ll receive the Magmashell automatically.
Stormhide Salamanther
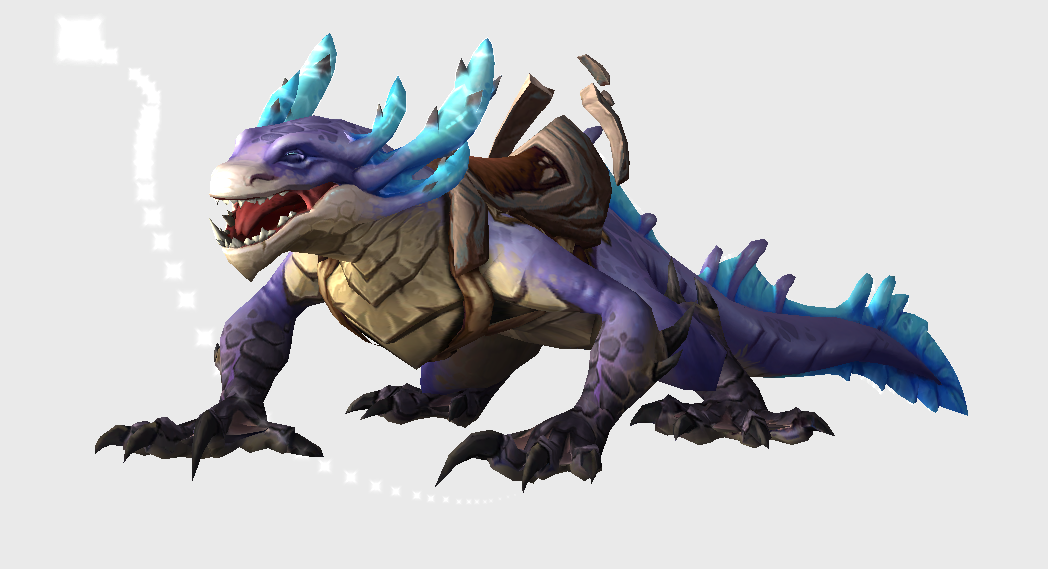
The Stormhide Salamanther can be purchased for 2,000 Elemental Overflow from Mythressa in Valdrakken.
Where I’d recommending farming for this is the Forbidden Reach. There are a large amount of rares around the zone and with this being older content now they are normally alive. Alternatively you can complete the zone event if it is active also for 1k overflow.
Once you have 2k from rares and events, head back to Valdrakken and purchase the Stormhide Salamanther from the Mythressa at /way 38, 37
Gilnean Prowler
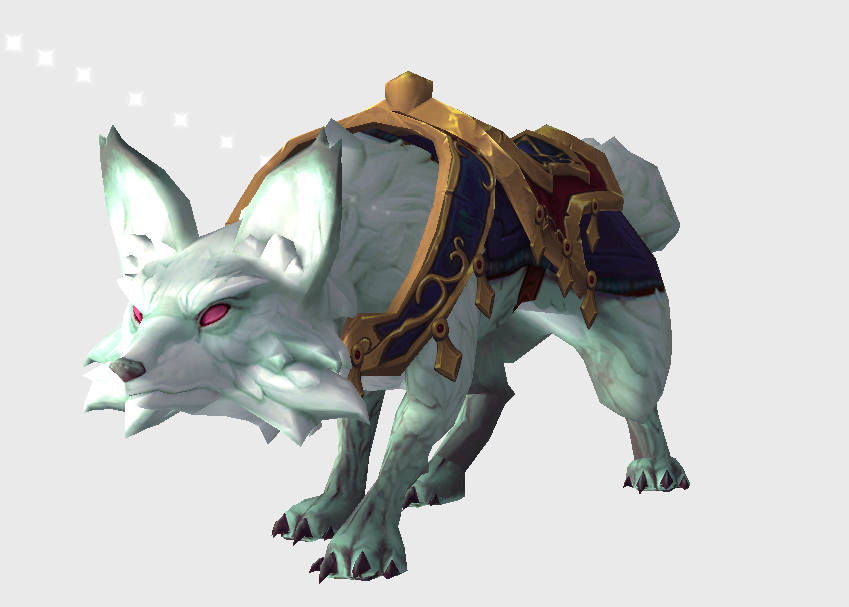
The Gilnean Prowler comes from a questline that will only take around 10 minutes to complete.
For Alliance you can begin this from Stormwind “To Gilneas” near the harbor. For Horde you’ll instead need to head to Silverpine Forest and pick up the starting quest from just south of Shadowfang Keep.
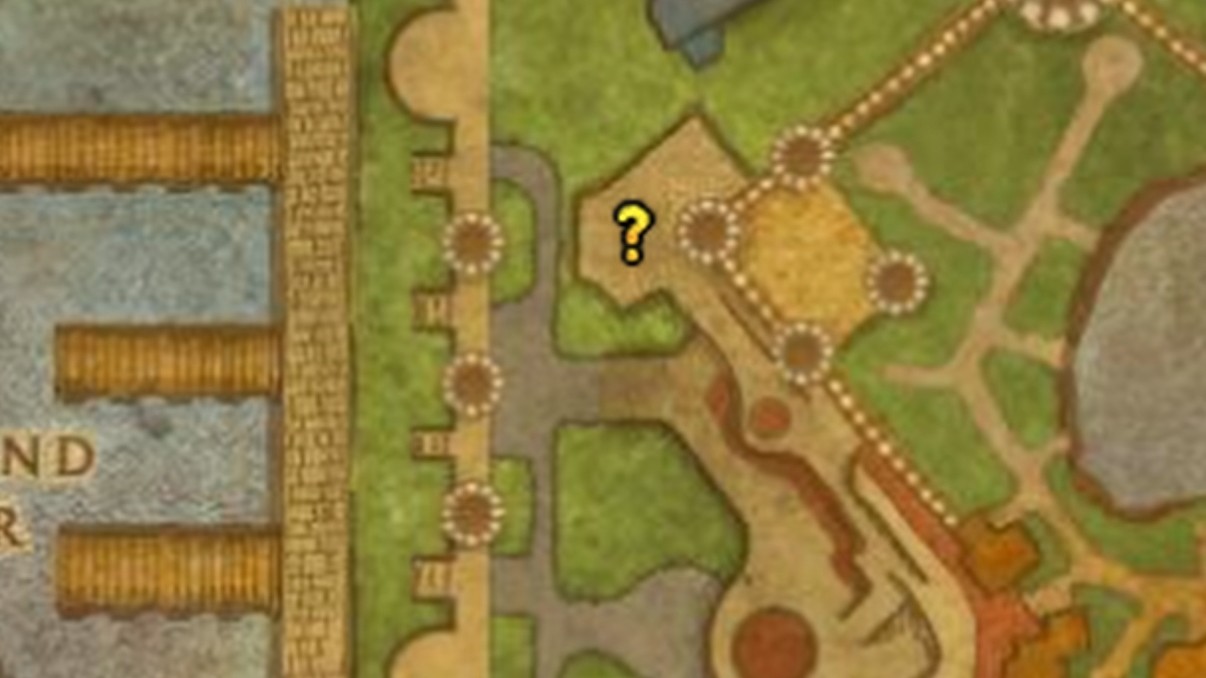
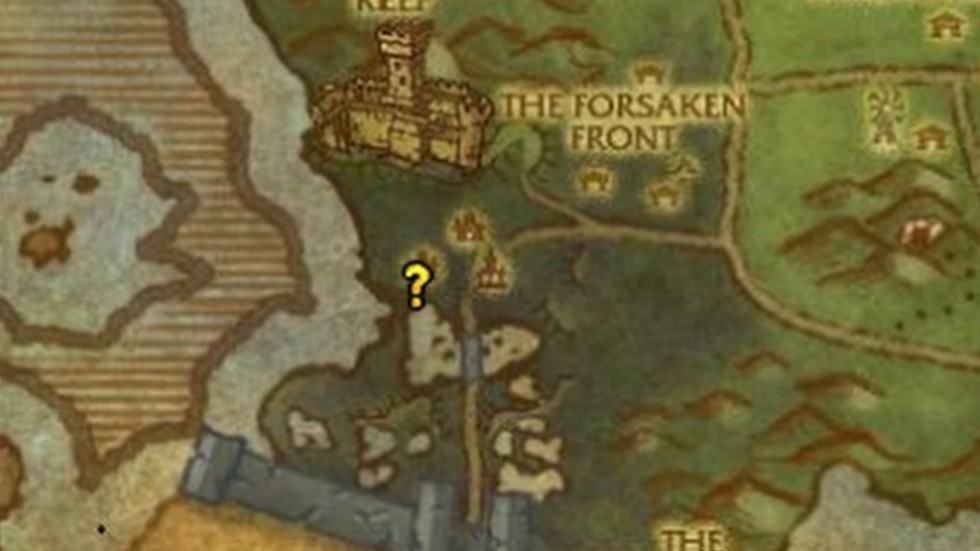
Work through the questline and at the end you’ll receive the Gilnean Prowler. Zygor has questlines like this already prepared for you to load up and follow the steps through until the mount reward.
Garn Nighthowl
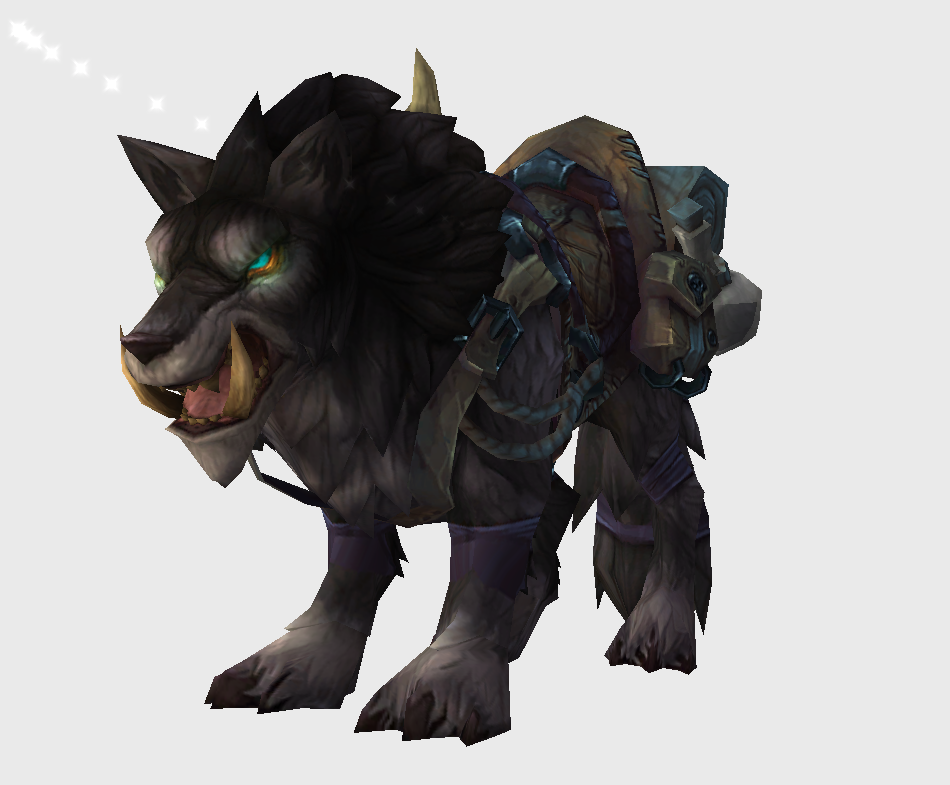
Garn Nighthowl is obtained from Nok-Karosh in Frostfire Ridge although it is a BOE item and typically sells for less than 1k gold on the Auction House as an alternative.
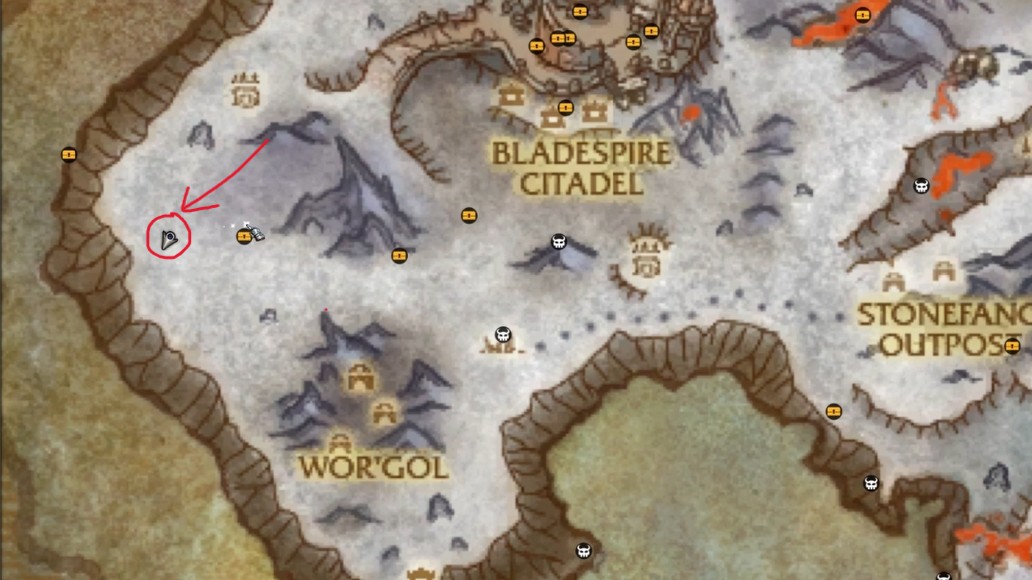
The rare can be found here and has around a 15 minute respawn. The mount itself is guaranteed when you kill Nok-Karosh so there isn’t any drop chance to worry about. So wait for it to respawn, defeat it and loot the mount.
Under 1 Hour
These are mounts that are still fast to obtain but will take you anywhere between 10 to 60 minutes and will be generally straightforward to obtain.
Sarge’s Tale
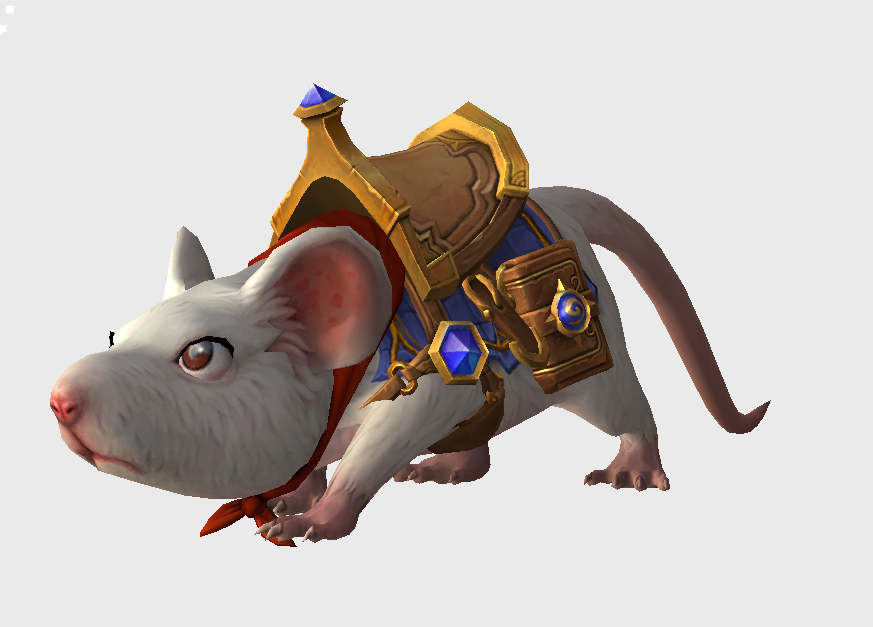
For the next mount we actually need to leave World of Warcraft and head into Hearthstone.
If you have never played Hearthstone before then download the game and load it up, you’ll be initially forced into a tutorial but feel free to skip this with the option in the top right.
Once you reach the main menu you may have some rewards waiting in the box on the left side, collect those and then press Escape. You should have the option to skip the Apprenticeship. You’ll get a few warnings about skipping content but continue through these.
Once the apprenticeship mode has been disabled, you can now access modes, on the modes menu select Mercenaries. Work through the Mercenaries tutorial until you reach the Barrens bounty, your first bounty will be for the Quilboar.
Start this bounty and you should receive a notification that Sarge’s Tale has been awarded to your World of Warcraft account. Head back into WoW and the mount will be waiting for you.
Aerial Unit R-21/X
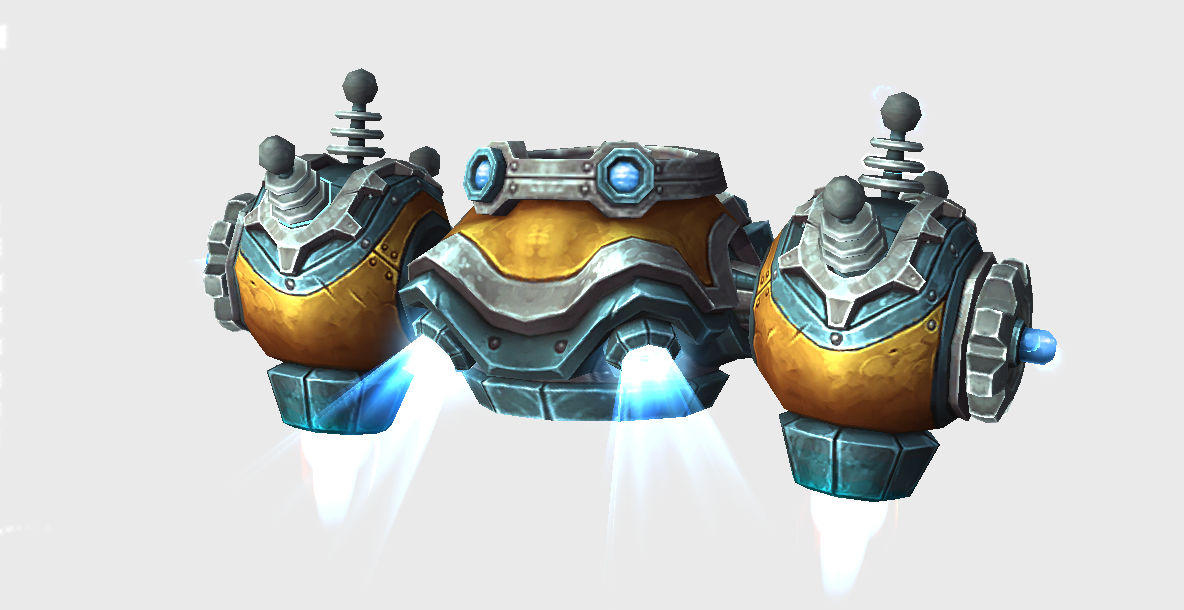
The Aerial Unit R-21/X is a guaranteed mount from Operation: Mechagon on Mythic difficulty but you need to complete the dungeon on Hard Mode. Hard mode is activated by doing specific things during the run.
For the first three bosses there will be a flying robot above one of them. Always head to the boss that currently has the robot flying above it and defeat them. Do the same for the other two bosses.
Now head to the fourth boss, HK-8 Aerial Oppression Unit. If everything has been done right so far then the robot during this encounter should be the upgraded MK2 version. Otherwise you didn’t kill the bosses in the correct order and will need to wait for a reset or use an alt.

Defeat the robot first and once it’s dead one of the pylons on the left or right side will become active. The active one will be glowing, navigate the gauntlet and click on the pylon to start the channel, keep channelling until it’s energy bar has been depleted. Once it’s depleted the boss will now be killable, defeat it.
The 5th boss doesn’t have any additional requirements so defeat it and make your way to the 6th boss which will have special requirements.
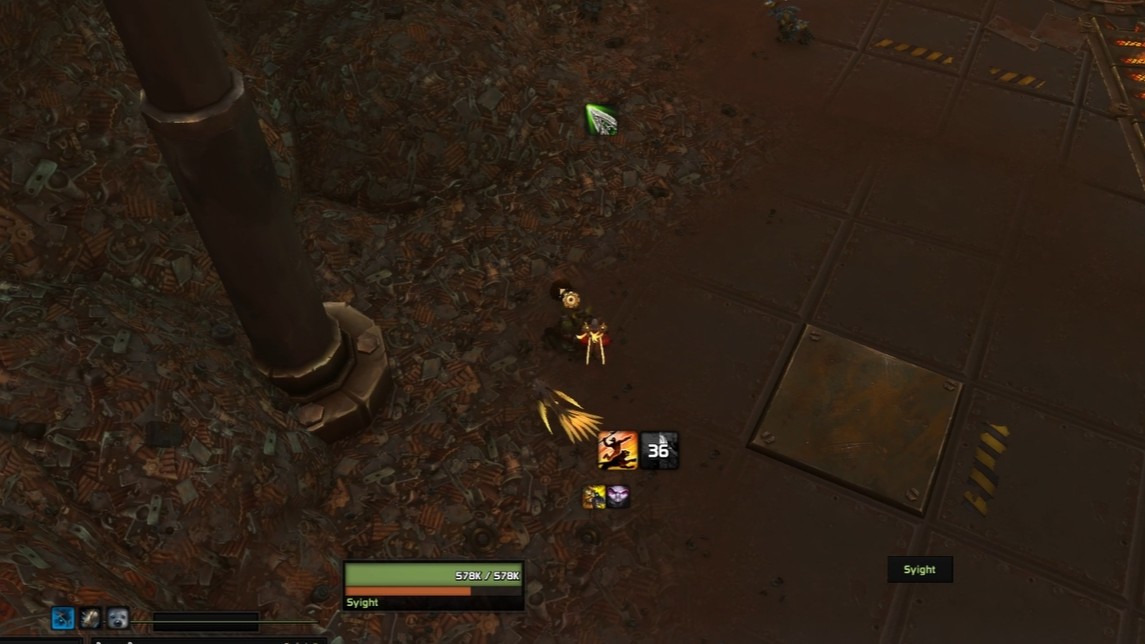
Before pulling K.U.-J.0 there will be an object on the left side of the room that you need to interact with. Click this and it will fly over into the furnace. Once that’s done defeat the boss and continue through the dungeon.
Navigate the next gauntlet on the way to the 7th boss, this boss has no special requirements also, so defeat it and continue to the final boss.
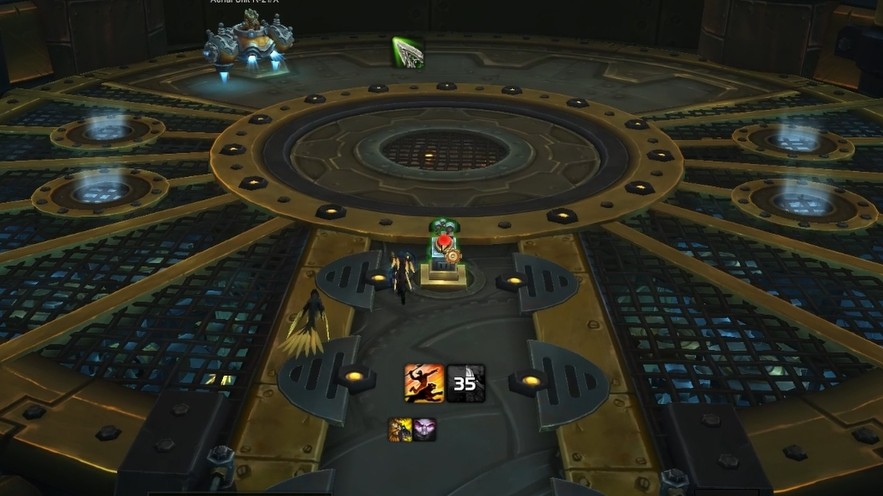
When you reach King Mechagon there should now be a red button available to click. If the button isn’t there then something has gone wrong earlier in the run. If it is there, click it and a hidden timer will begin. You now need to defeat King Mechagon before that timer runs out, which is extremely easy on a current level character.
Once the boss dies loot the boss and you’ll receive the Aerial Unit R-21/X.
Vashj’ir Seahorse
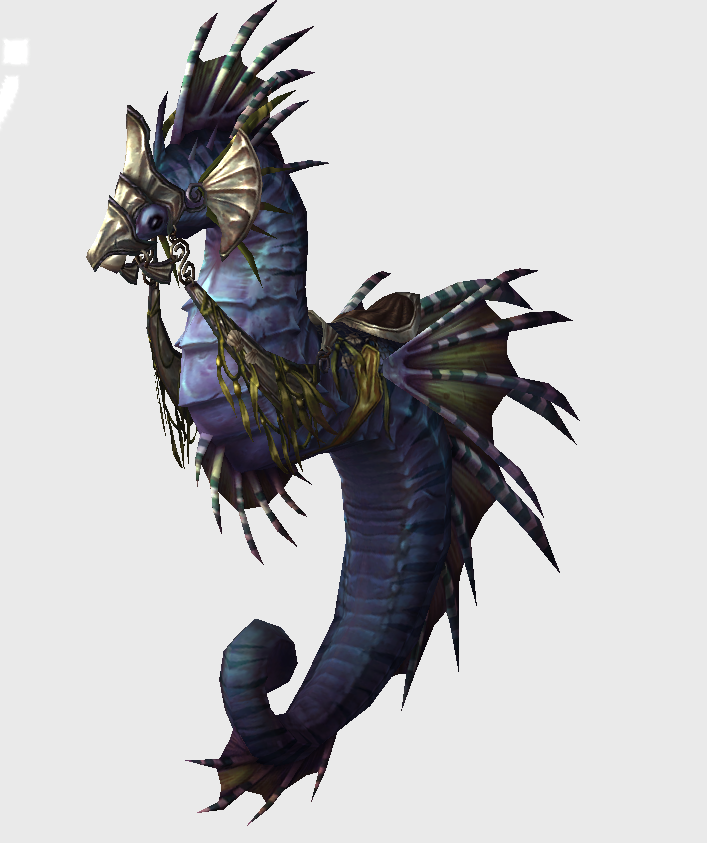
The Vashj’ir Seahorse isn’t the most useful mount because you can only actually use it while inside Vashj’ir, but it still counts towards your total collection.
Start the Vashj’ir questline from either Stormwind or Orgrimmar. Both factions can begin this around their respective harbor areas.
Continue through the opening questline and eventually you’ll receive a quest where you need to tame a seahorse. Complete this and you’ll receive the Vashj’ir Seahorse.
Bronze Drake
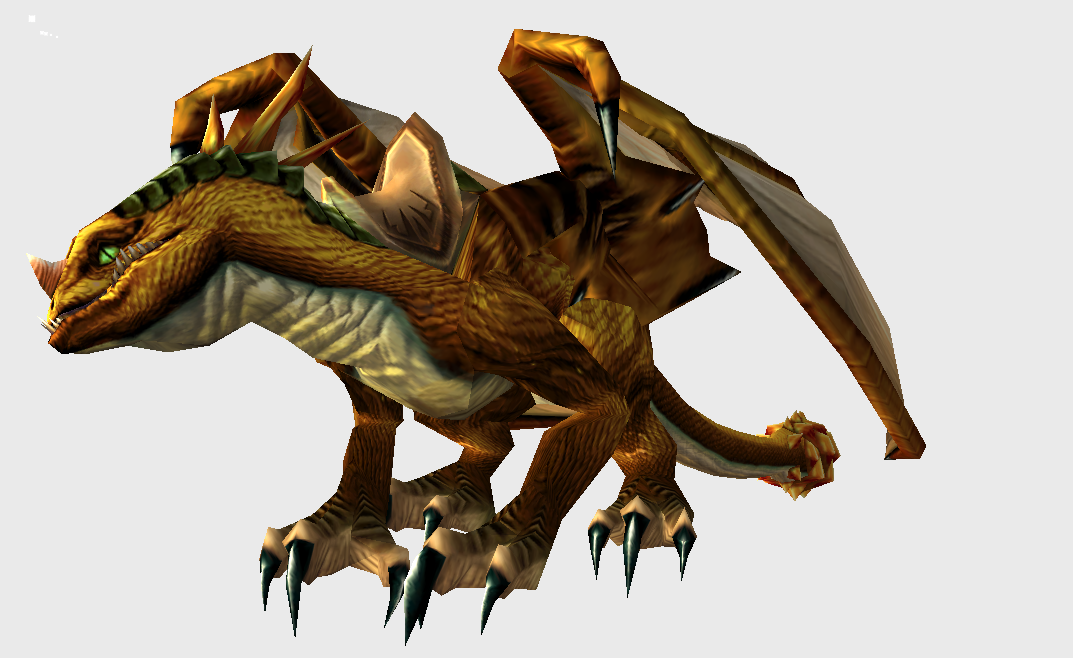
The Bronze Drake comes from the Culling of Stratholme dungeon on Heroic difficulty inside the Caverns of Time.
There is quite a lot of RP in here so if you ever get stuck and nothing seems to be happening, look around for NPCs such as Chromie or Arthas that you can speak with to progress the dungeon. Eventually the timed section will begin after speaking with Arthas.
The timer itself isn’t a problem as a levelled character, continue through the dungeon by killing the packs of mobs marked with a flag, eventually the boss will spawn and you repeat that until you need to meet and escort Arthas.
Make your way to the final boss but instead of going right, instead follow the path to the left and you’ll find the Infinite Corruptor as long as there is time remaining, defeat this mob for the Bronze Drake.
Swarmite Skyhunter
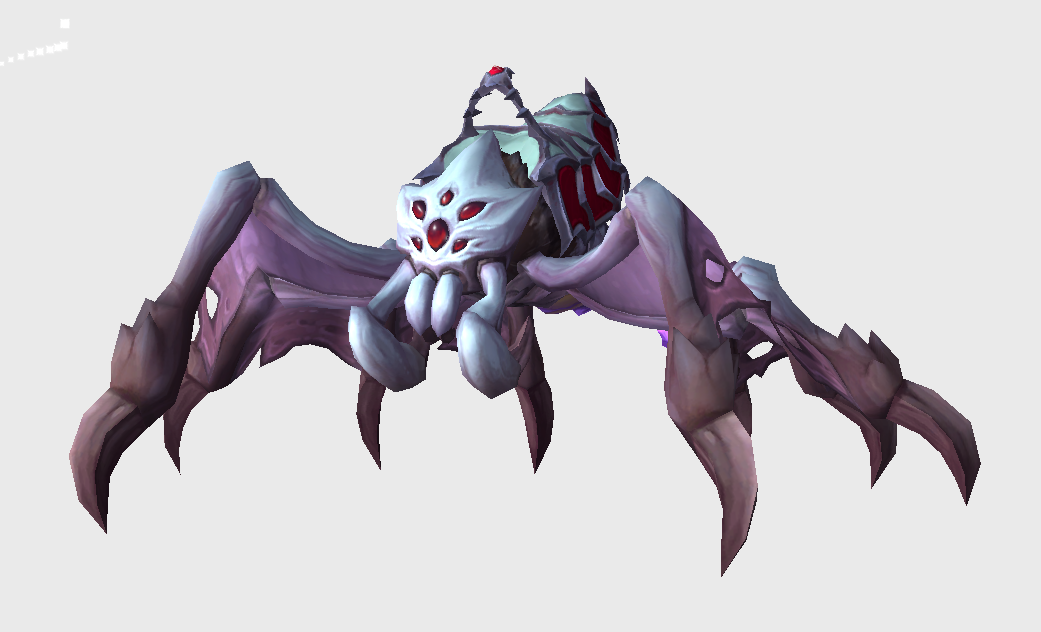
The Swarmite Skyhunter comes from collecting all of the Skyriding Glyphs found throughout the base War Within zones.
For this you simply need to fly around each zone and pass through every glyph. This is one where I would highly recommend using something like Zygor because rather than checking each individual coordinate you can load the glyph guide and just follow the waypoint arrow directly from one to the next.
Once you’ve collected all of the required glyphs you’ll receive the Swarmite Skyhunter.
Crimson Dragonhawk
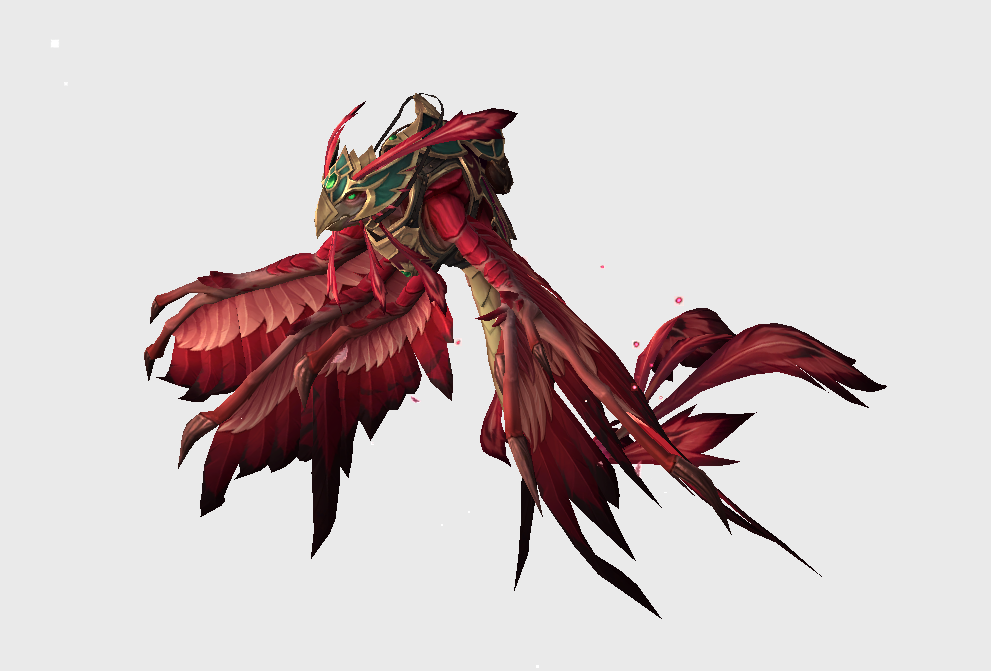
The Crimson Dragonhawk works almost exactly the same way except this time we are collecting the Skyriding Glyphs throughout the base Midnight zones. Again there isn’t really anything complicated here, it’s simply a case of visiting them all.
Load up a waypoint guide, fly from one to the next and once you’ve finished all of the required glyph achievements you’ll receive the Crimson Dragonhawk.
Dreamlight Runestag
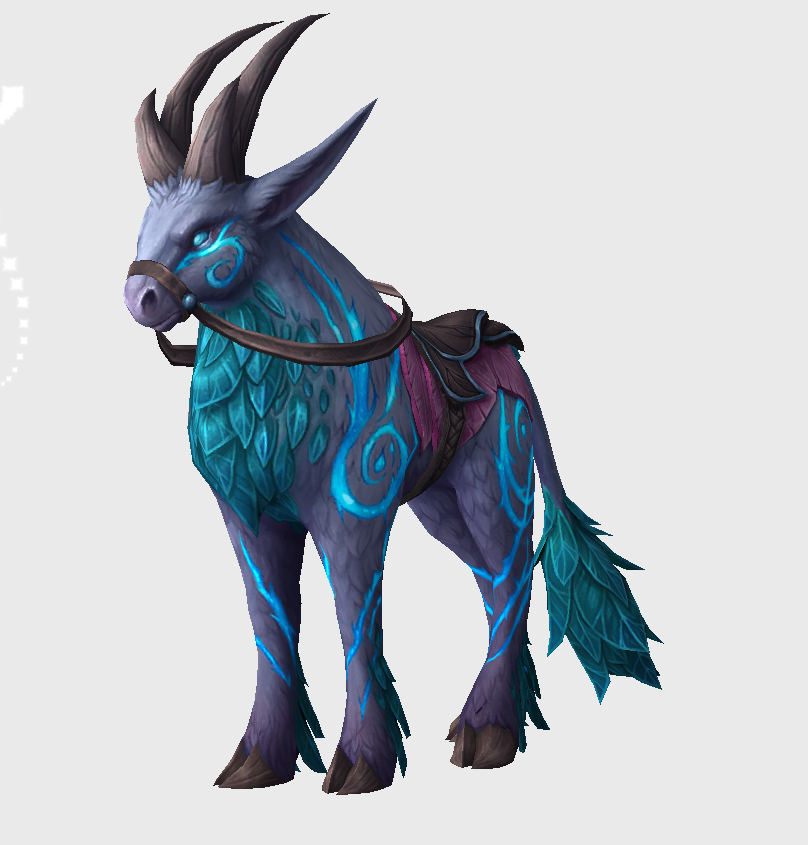
For the Dreamlight Runestag you need access to the Shadowlands zones and you’ll need to be under the Night Fae Covenant to receive it.
Head to Oribos and swap over to the Night Fae Covenant and then begin the Night Fae campaign, very early into the campaign you’ll join the Night Fae and take part in a play, at the end of the play questline you will receive the mount.
Golden Lotus Riding Cranes
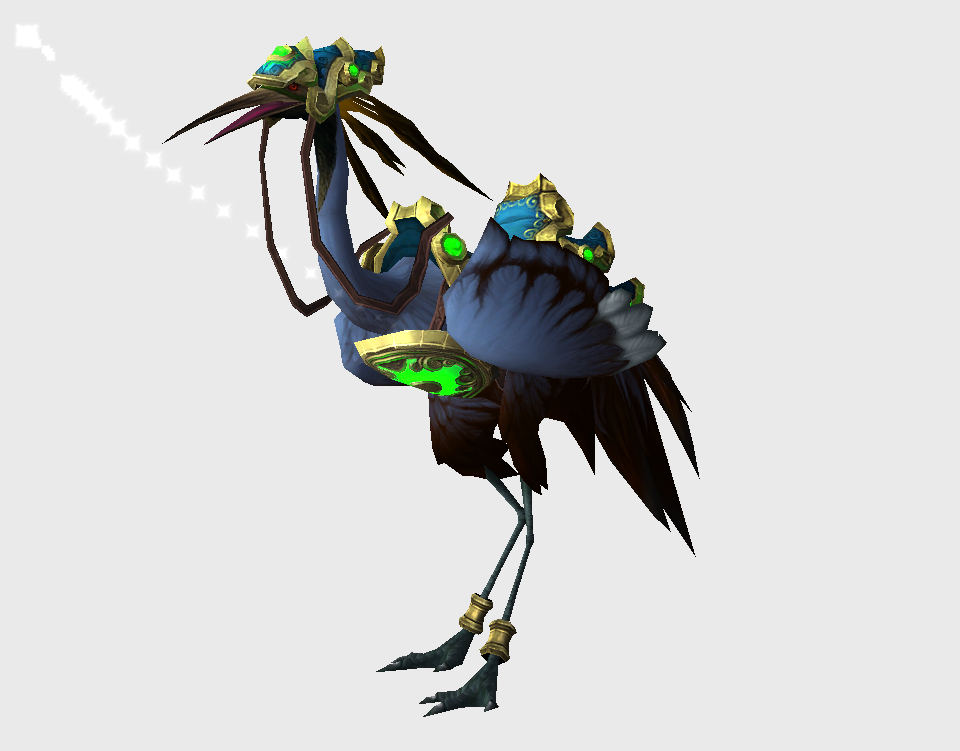
The next three mounts all come from the Golden Lotus reputation in Pandaria.These are the Azure Riding Crane, Golden Riding Crane and Regal Riding Crane. You’ll need to reach Exalted with the Golden Lotus before you can purchase all three.
There are two methods, one is reliable but the other can vastly speed up the process if you’re lucky and can assist you with obtaining other mounts also.
The first is to head to the Vale of Eternal Blossoms and simply start killing the Golden Lotus mobs around the zone. Enemies here give around 80 reputation and the rare elites give around 1500, these mogu rares are typically alive now too, so it’s worth checking for them.
Just repeat this until Exalted, however once you reach Revered if you visit the quartermaster which is at the hubs in Vale, you can purchase the Grand Commendation of the Golden lotus, this will double your reputation gains.
The second option is to fly around Pandaria looking for Zandalari War Scouts and Zandalari Warbringers. These can be found in in Kun’lai, Jade Forest, Karsarang Wilds, Dreadwastes and Townlong Steppes.
The reason these are of interest is they can drop rep tokens, the one for the Golden Lotus provides 8k rep before any bonuses. They also provide rep tokens for the other factions and the Warbringers can drop mounts. However the respawn is up to an hour, so don’t expect them to respawn quickly.
Once you reach Exalted return to the Golden Lotus quartermaster and purchase all three riding cranes.
Horrific Visions Setup
There are four secret mounts we can obtain from the Revisited Horrific Visions that are individually fast and the setup we are doing can be used to obtain them all.
If you haven’t unlocked Horrific Visions yet then head to Dornogal and complete the introductory questline. You’ll also need two masks before we begin going for the mounts.
The first mask can be obtained by completing a full Horrific Vision clear, which means defeating the four additional area bosses and then the final boss. Once you have your first mask, activate it and enter the Stormwind Horrific Vision. Head to the canal here, defeat the enemies and behind them on the pillar will be another mask you can collect.
Now that we have two masks we can start going after the mounts.
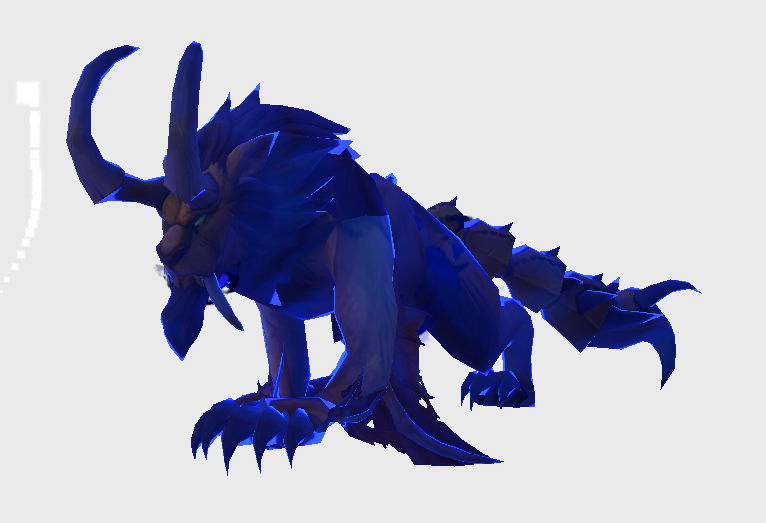
Void-Scarred Windrider
Activate both masks and enter the Orgrimmar Horrific Vision. Head to the Valley of Wisdom and completely clear the area including the area boss.
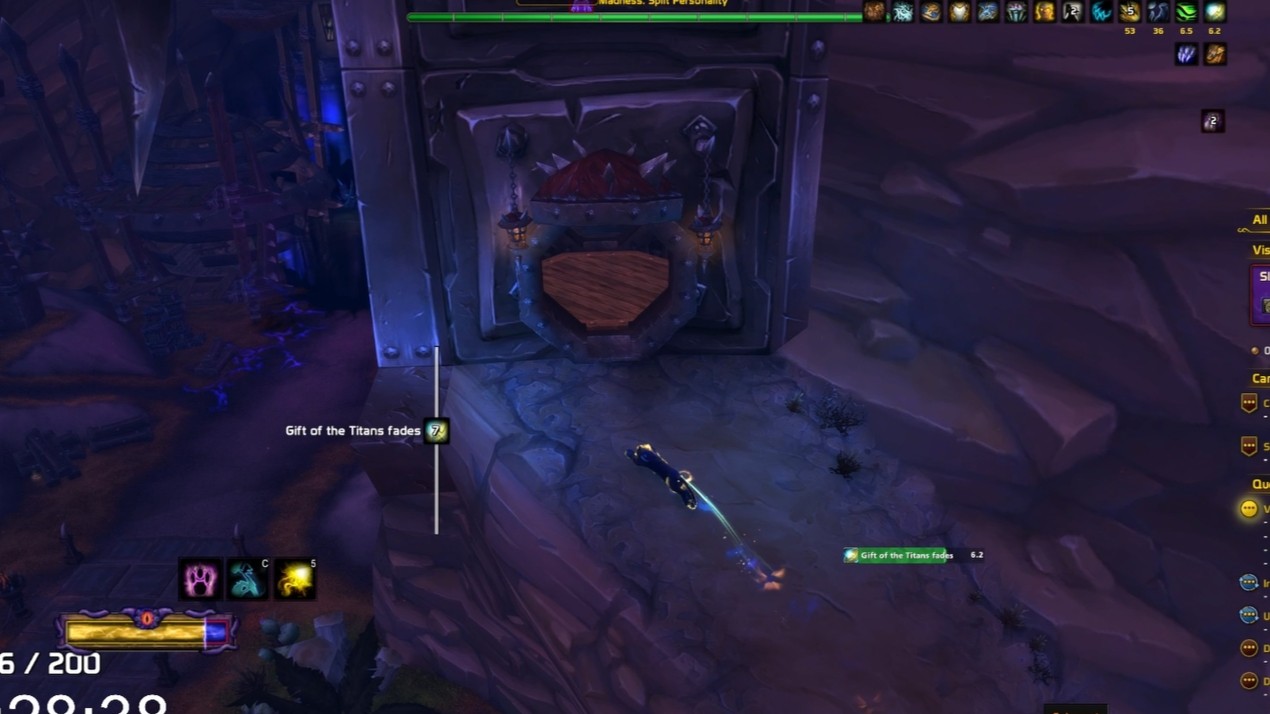
Once the boss is dead the elevator here will no longer be covered in void. Take it up to the higher platform and you’ll find a pile you can interact with. Keep clicking it and enemies will continue spawning.
Eventually an elite will spawn instead, defeat this elite and loot it for the first mount.
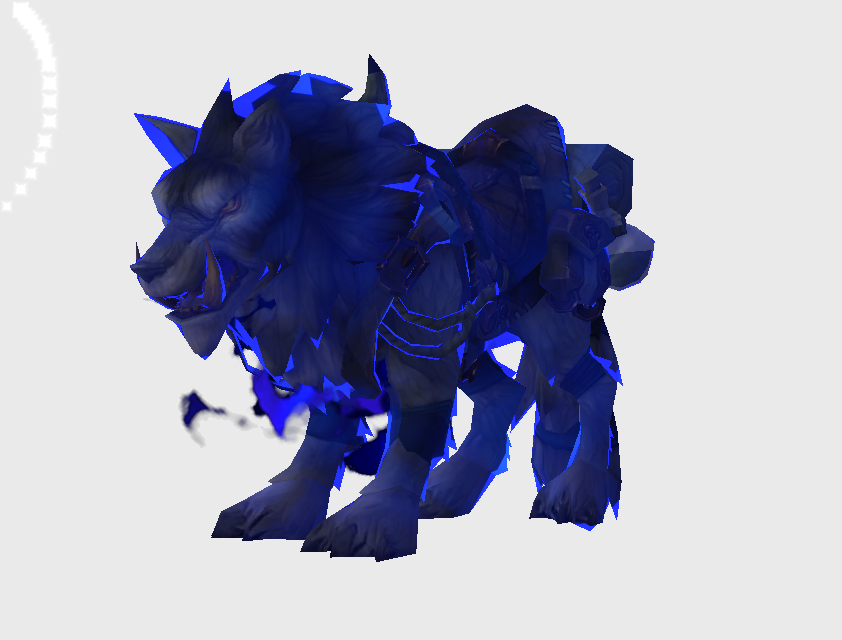
Void-Scarred Pack Mother
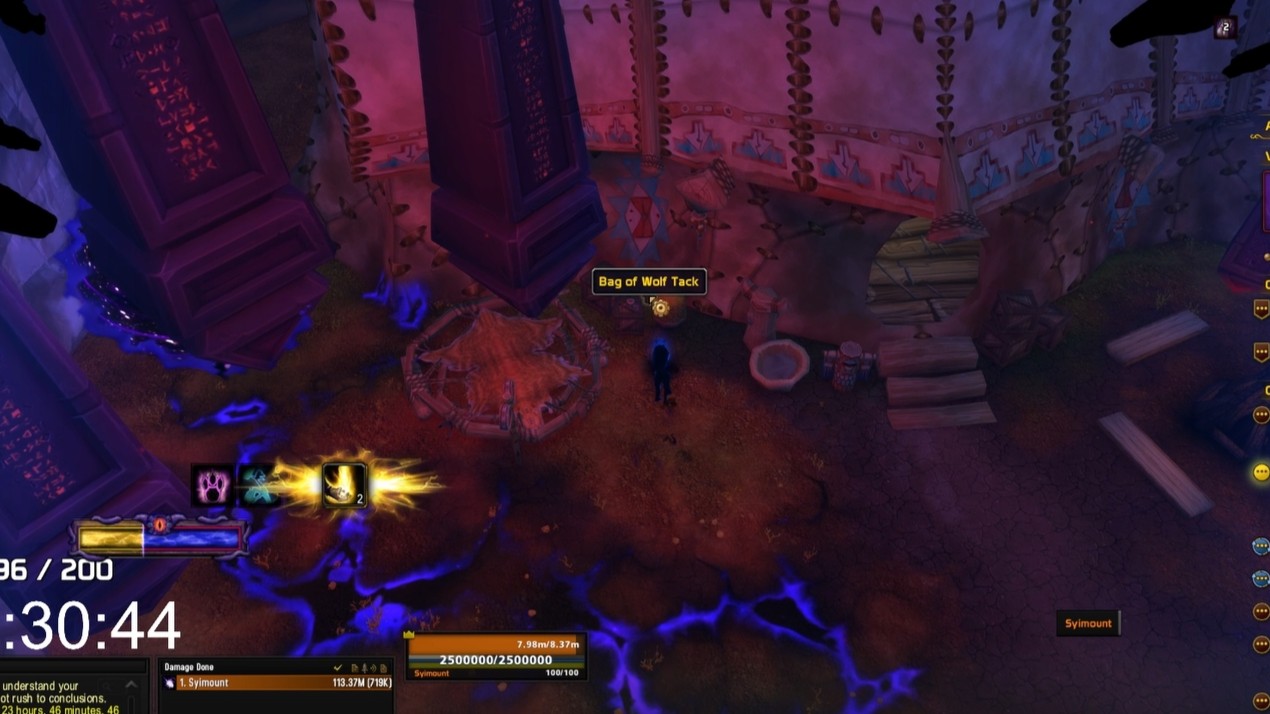
Before leaving the Valley of Wisdom head over to this tent on the far side of the area. Next to the box here will be an item you can loot.
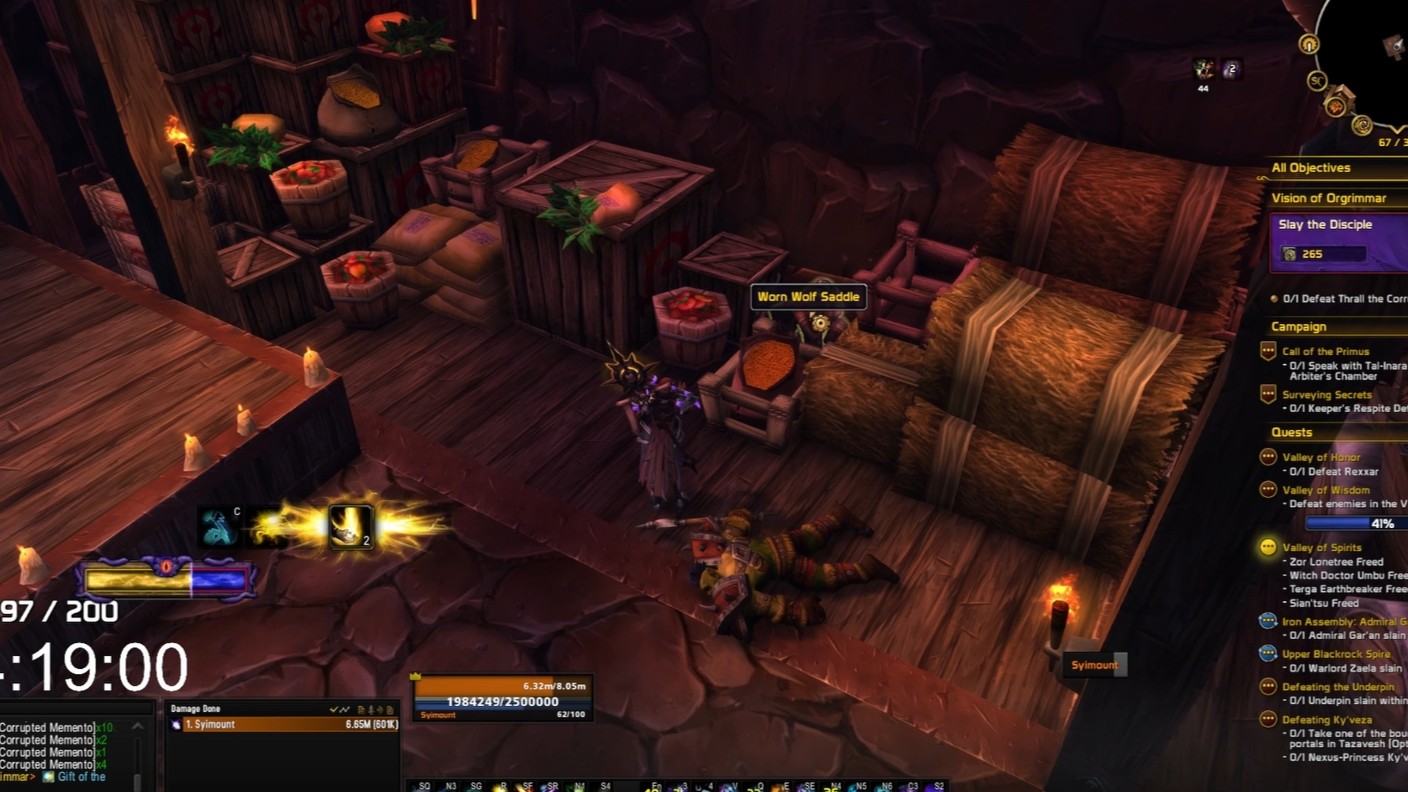
Once you have it head over to the Valley of Honor and enter the Auction House. Inside one of the crates will be the second item we need.
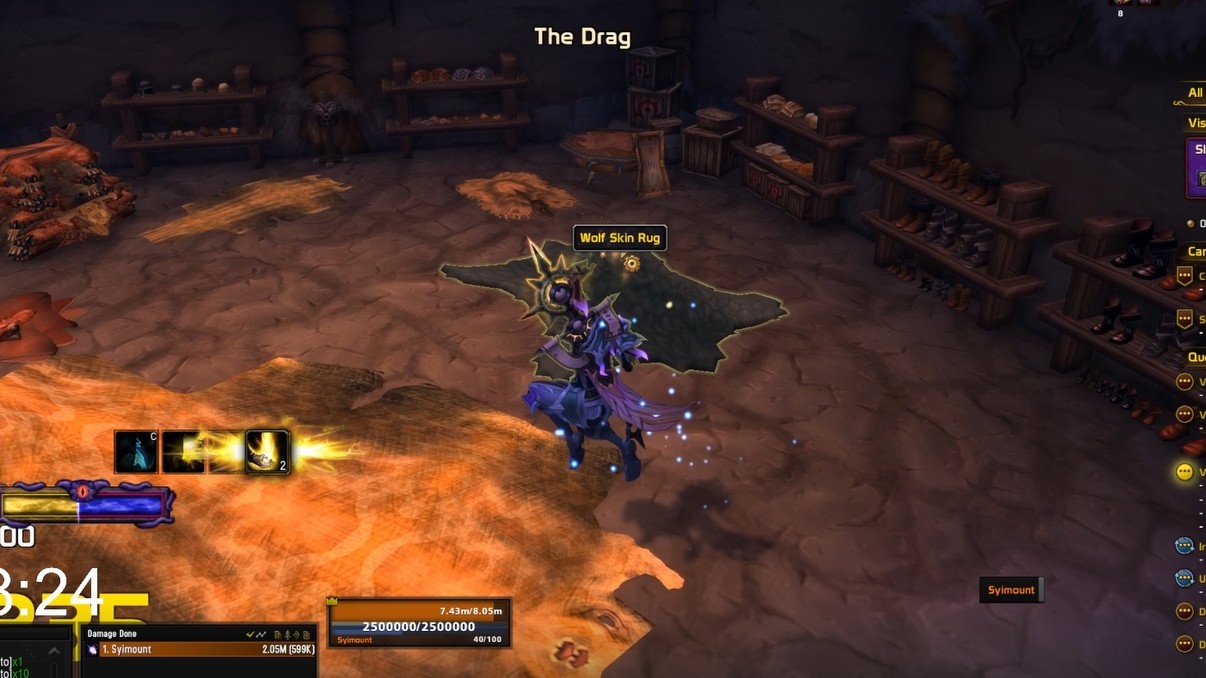
With both items collected head to the leatherworking shop in The Drag. Inside you’ll now be able to interact with a rug. Click it, defeat the enemy that spawns and you’ll loot it for the Void-Scarred Pack Mother.
Void-Scarred Gryphon
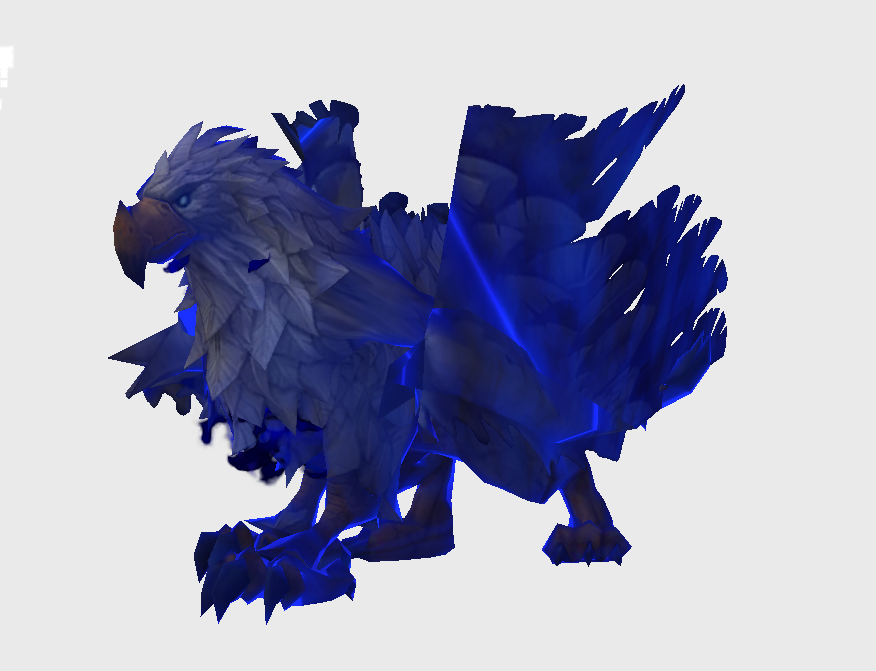
For the next two mounts we need to run the Stormwind horrific vision instead. Although before entering you should pick up the various base processed and unprocessed cooking materials from The War Within cooking. Alternatively if you have an auction house mount you can purchase them inside.
Activate both masks and enter Stormwind. Head to the Trade District and on the side where the stairs are to reach what would normally be the flight master, you’ll find two notes, one is just as you’re entering this section and the other is on the stairs themselves. These two notes together will tell you what food you need, so check them both.
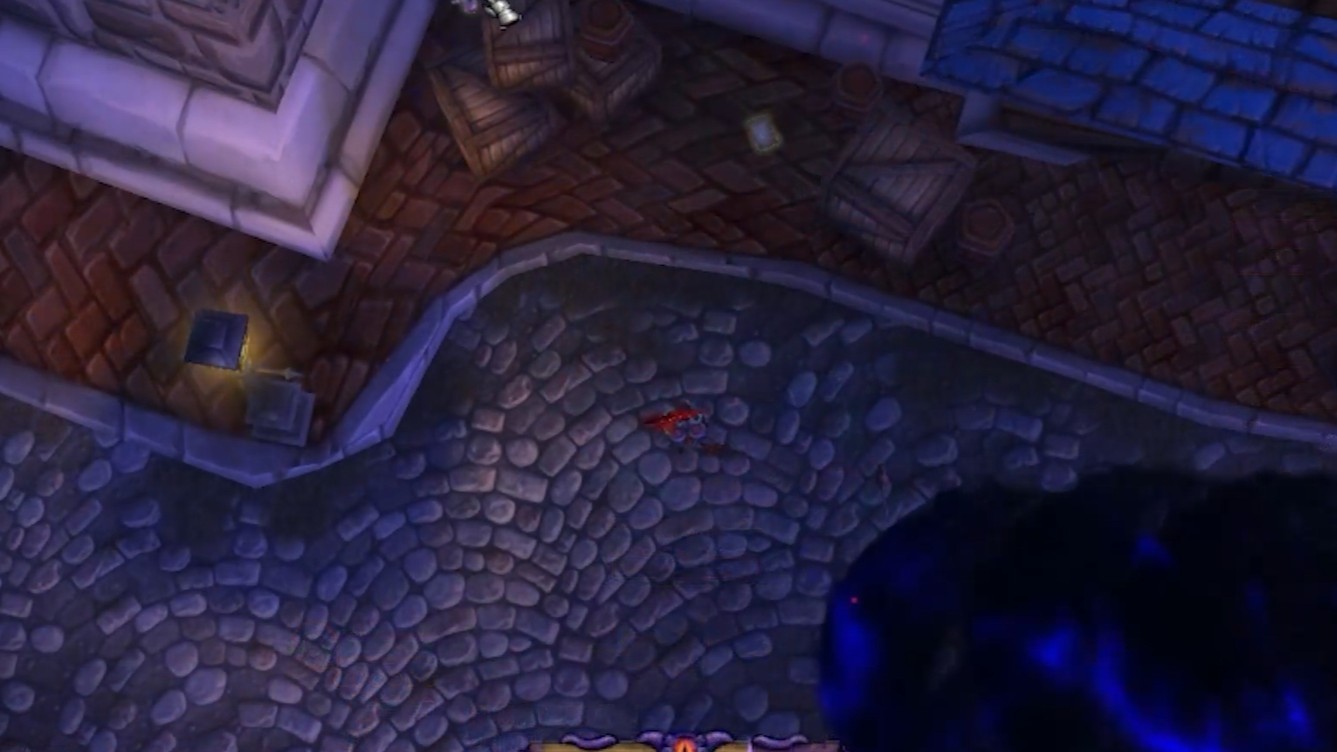
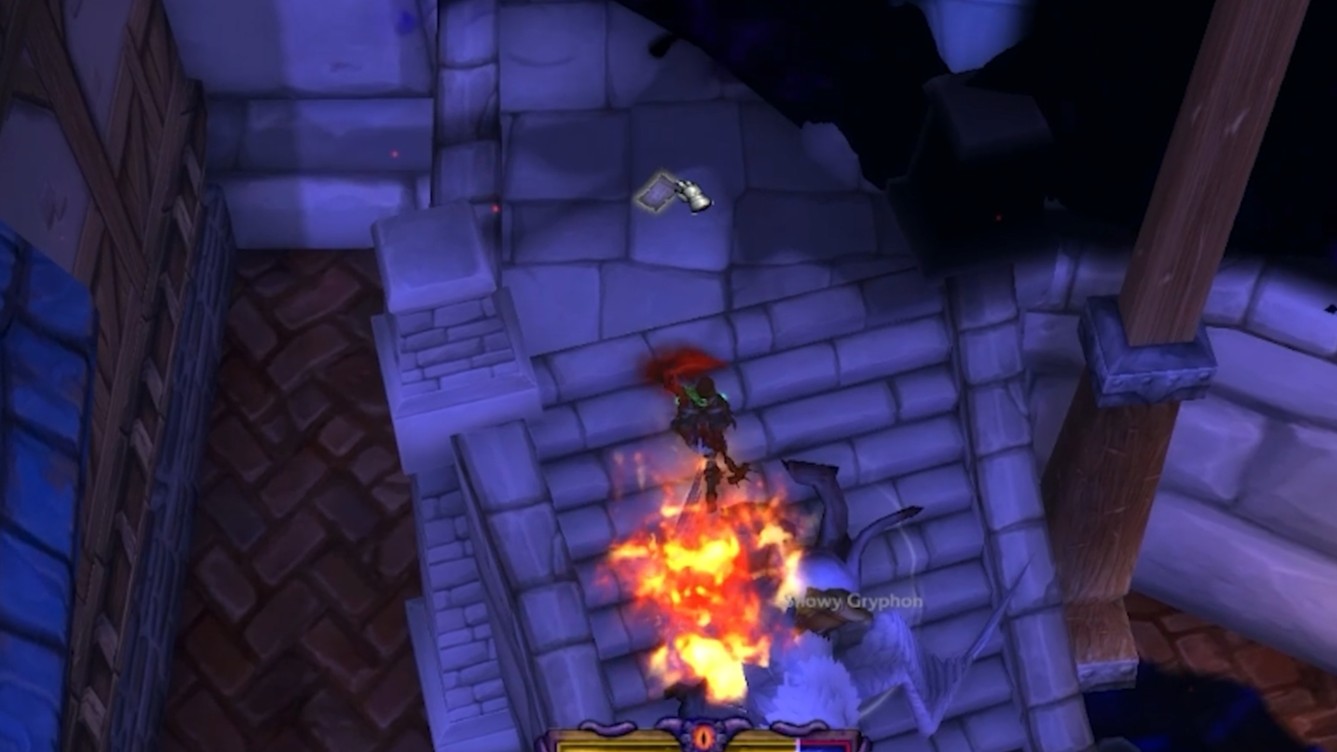
One will said if it is raw or processed and the other will say what type of food, so fish, meat, fungus etc. Once you know which food is required, you will find a small bowl next to the stairs, click this bowl and input the required food then rattle the bowl.
If done correctly the elite will eventually fly down to you, if done incorrectly rats will spawn instead. Defeat this elite and loot for the mount.
Void-Forged Stallion
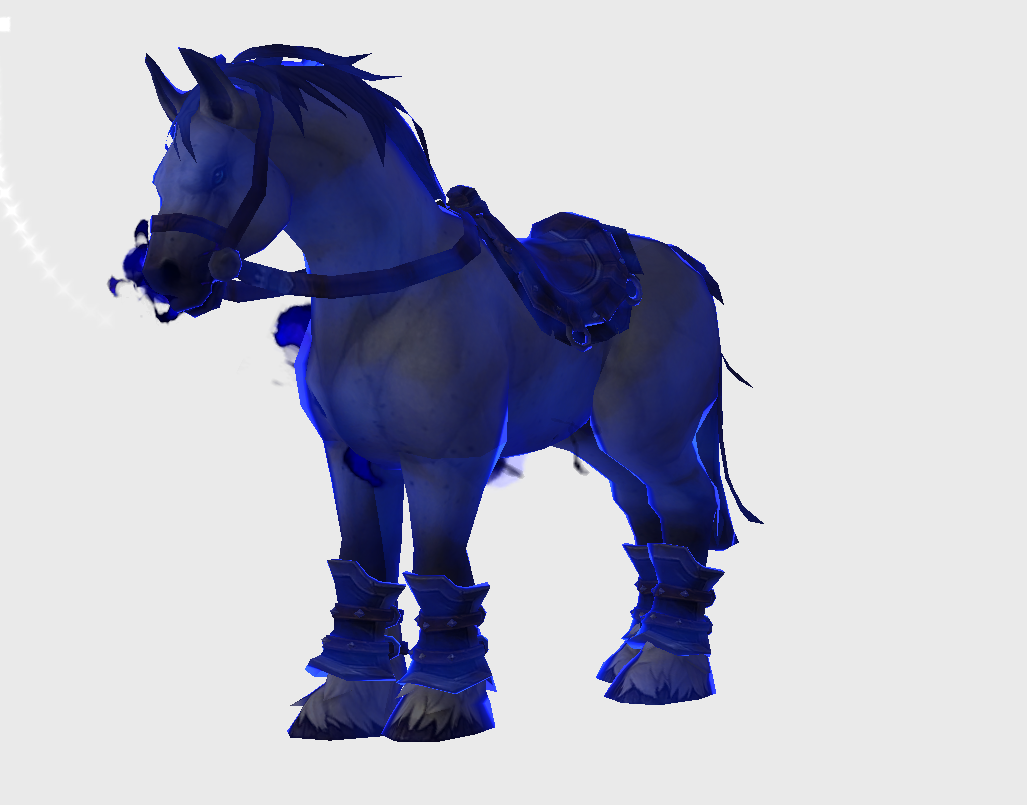
While you’re inside the Stormwind Horrific Vision we can also get the Void-Forged Stallion. For this you’ll need to collect four horseshoes.
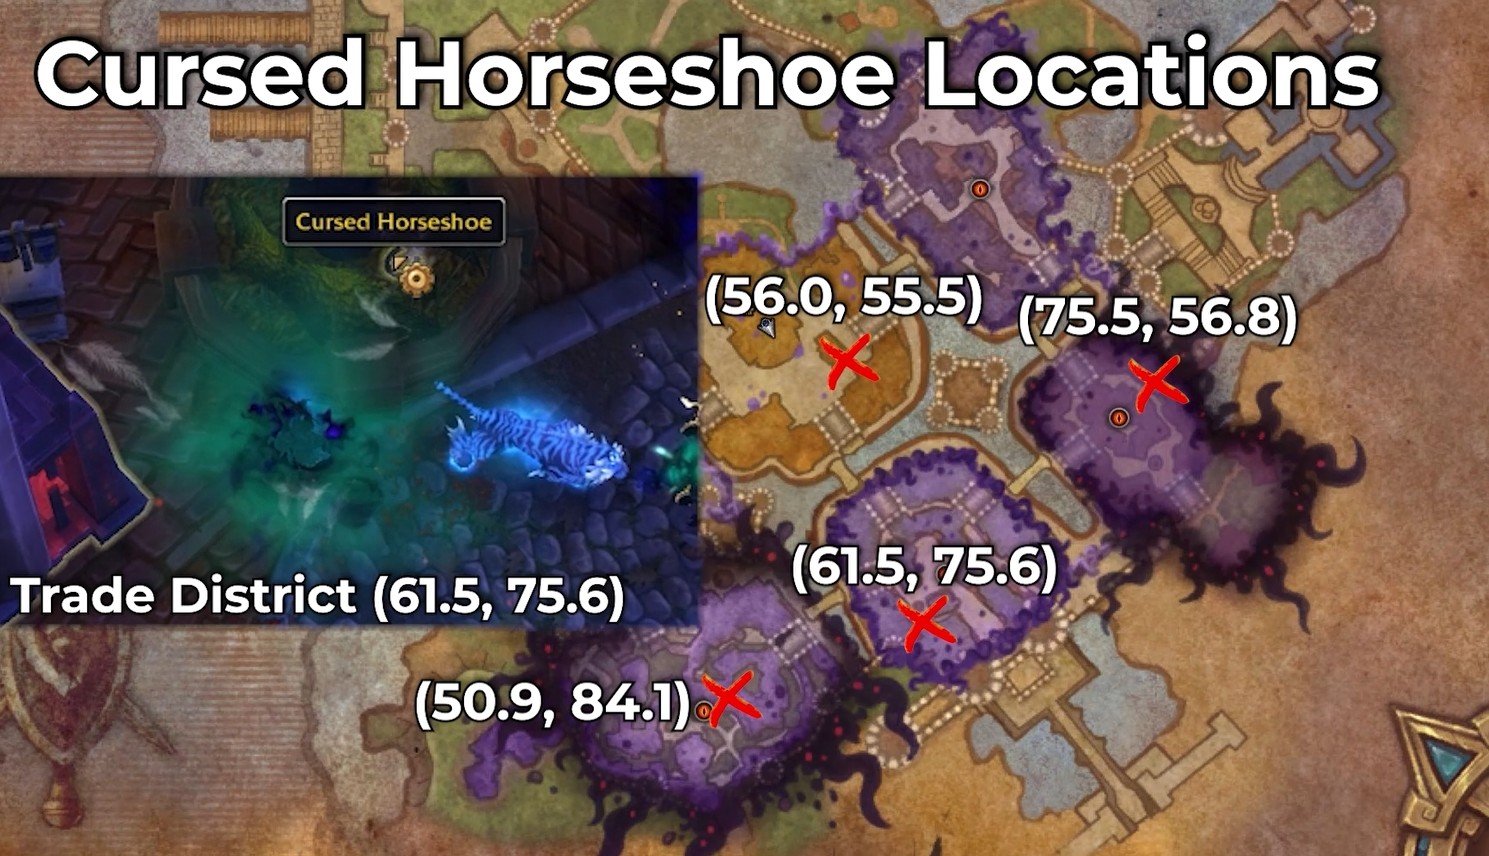
There is one in the Trade District, one in the Mage Quarter, one in Cathedral Square and one in Old Town. Travel to each of these locations and collect the horseshoe. Once you have all four head to the blacksmith area in the Dwarven District.
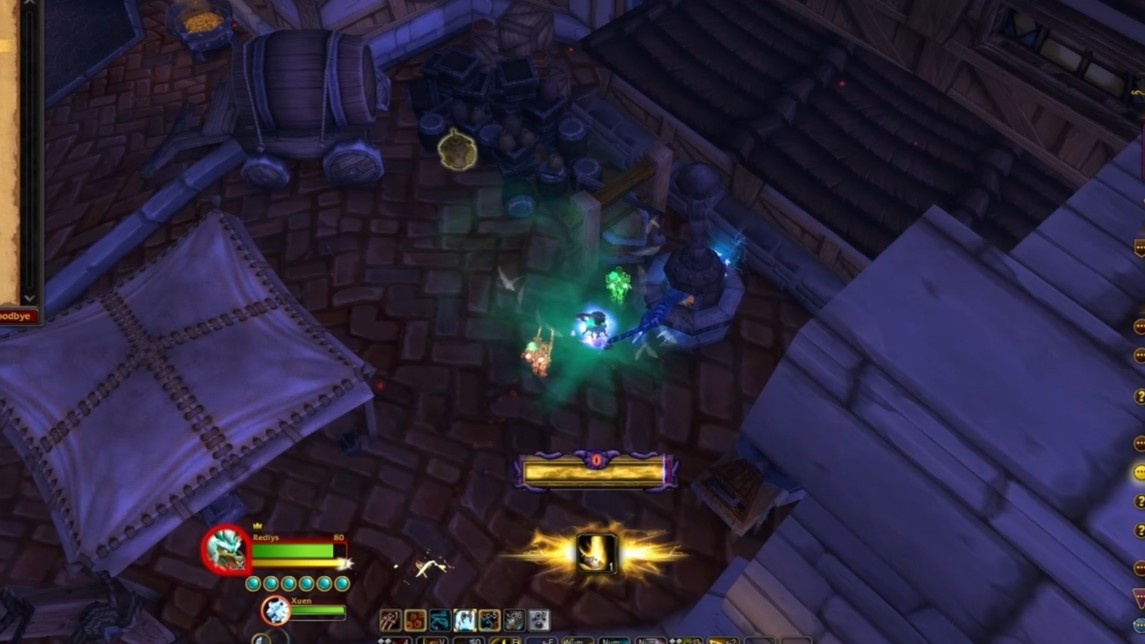
Here will be a furnace you can interact with. Use it to process the horseshoes and an enemy will spawn. Defeat it and loot it for the Stallion mount.
Harandar Treasure Mounts
There are three more mounts that can all be obtained while working through the treasures found around Harandar.
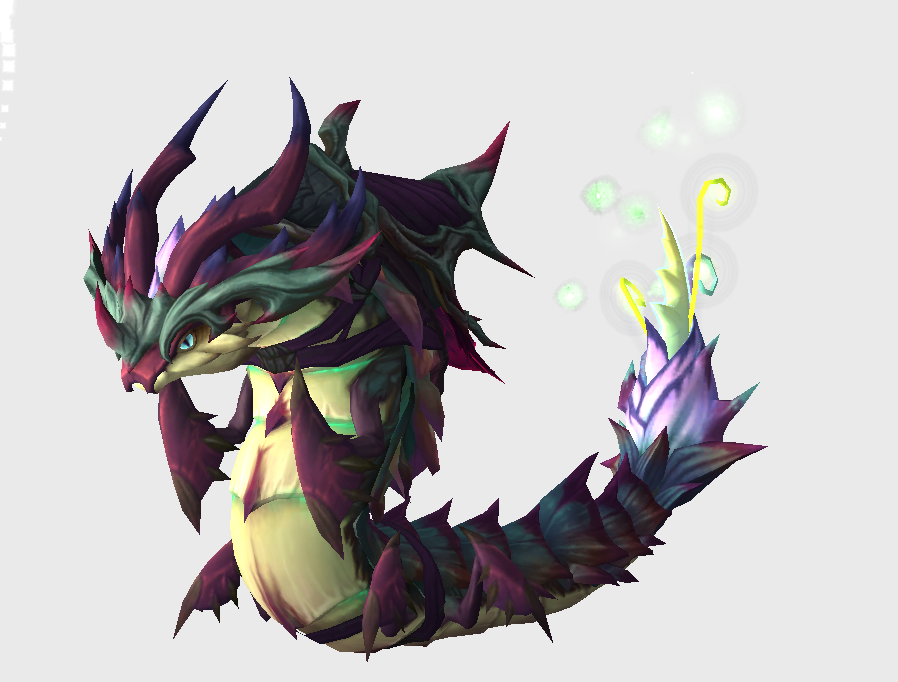
Untainted Grove Crawler
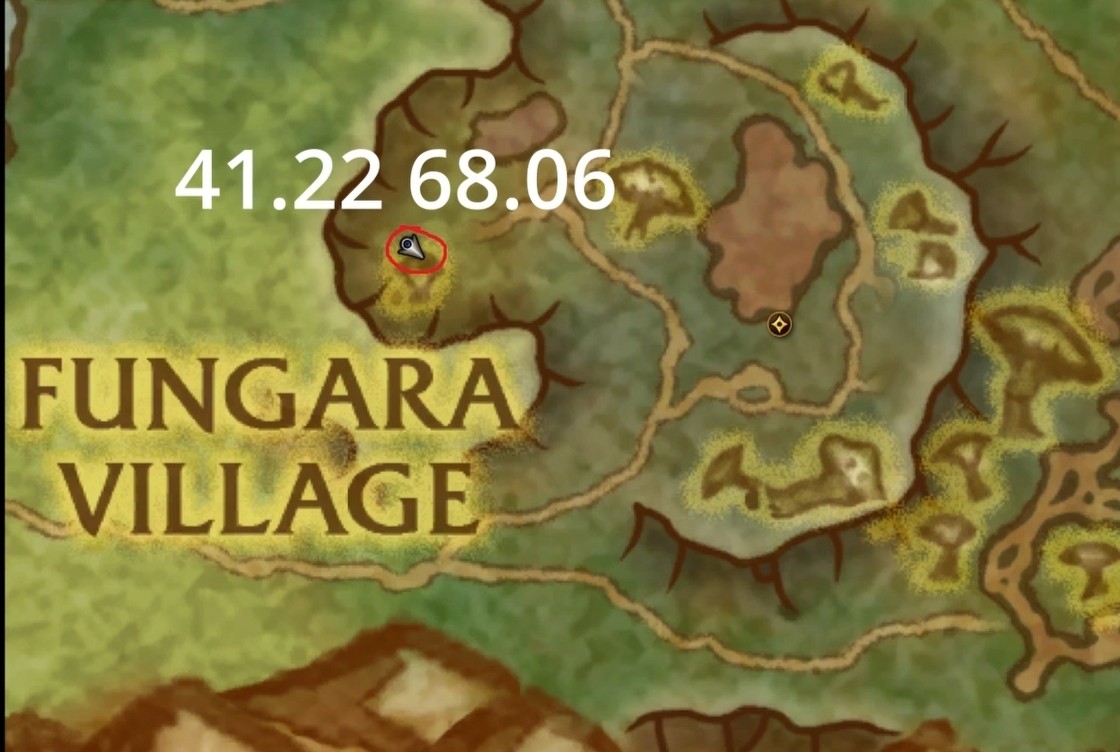
For the Untainted Grove Crawler head to this village and you’ll find a mallet that you can interact with. Clicking this will give you a buff.
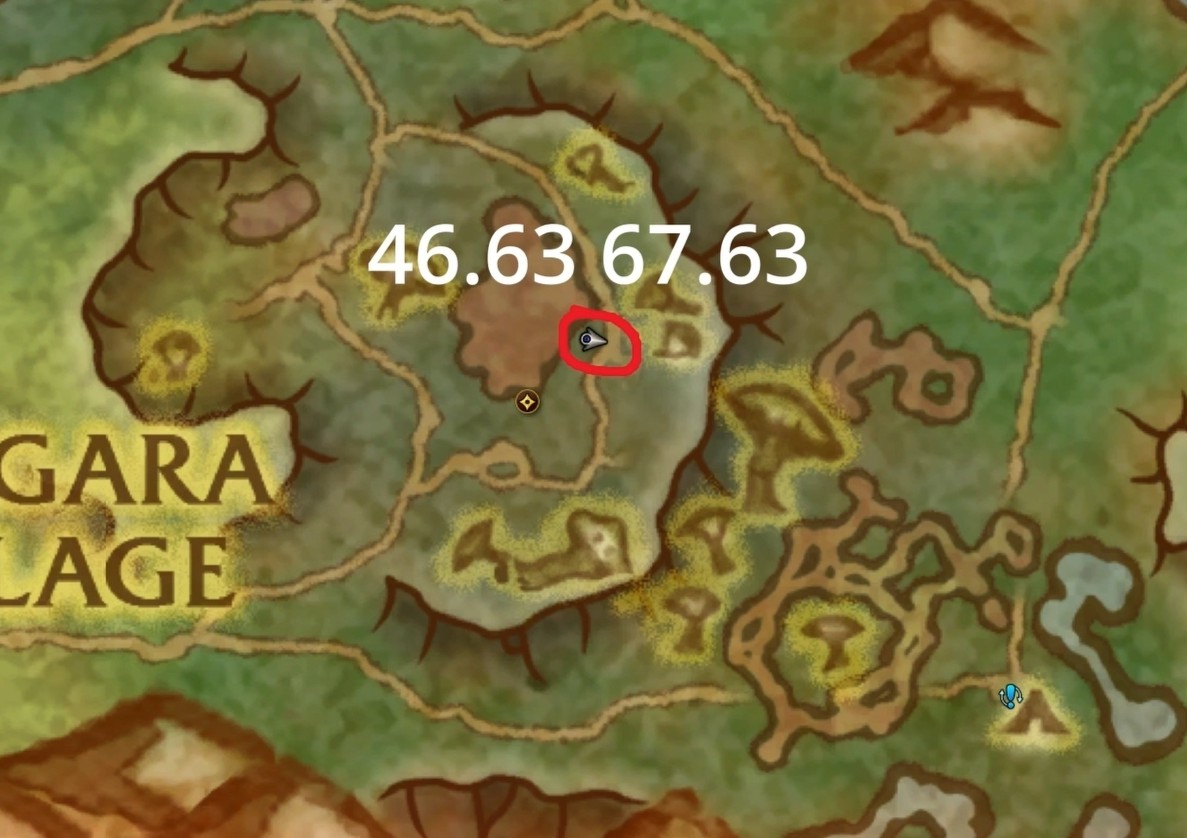
Now head over to the gong on the opposite side of the village and interact with it while the buff is active. A treasure will appear and you can loot it for the Untainted Grove Crawler.
Ruddy Sporeglider
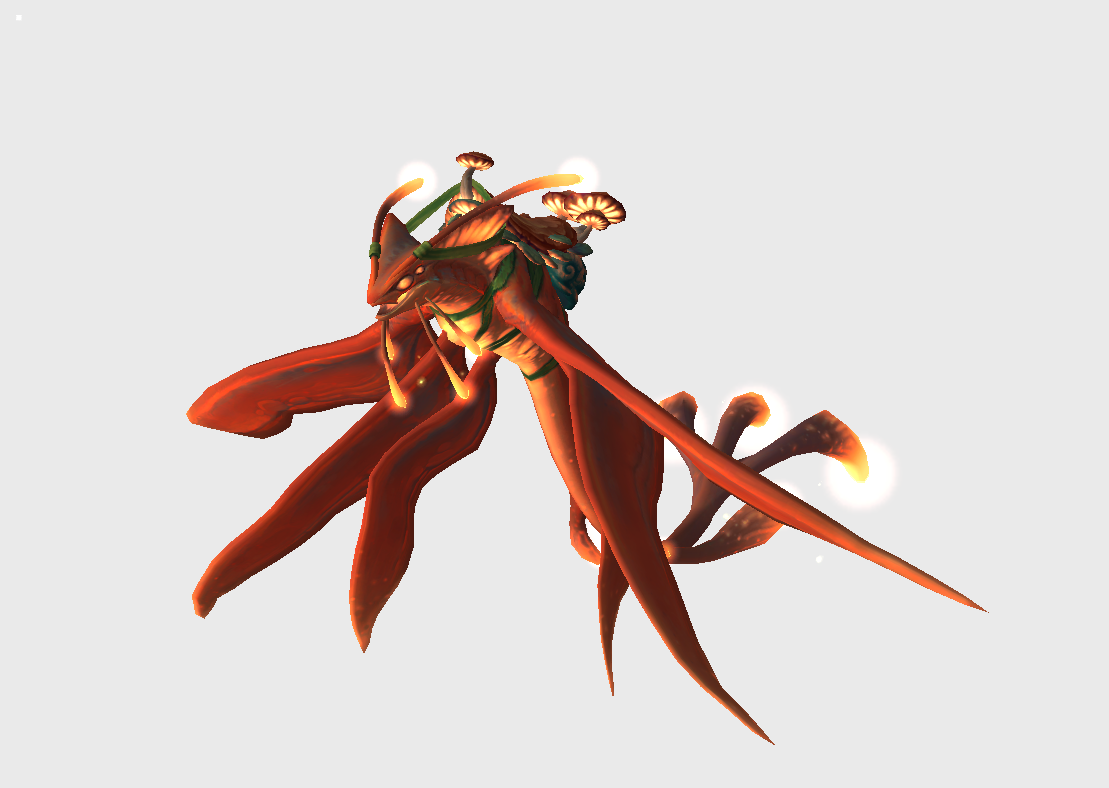
For the Ruddy Sporeglider head to the northwest side of Harandar. Under the bridge here will be a cauldron but before you can use it you need to collect Crystalized Resin Fragments.
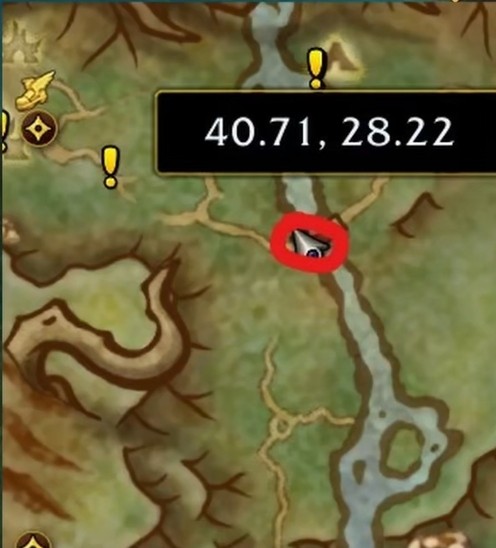
You can find these all along the nearby river. Fly up and down the river collecting them as you go. They respawn fairly quickly so once you reach the end, turn around and head back in the opposite direction.
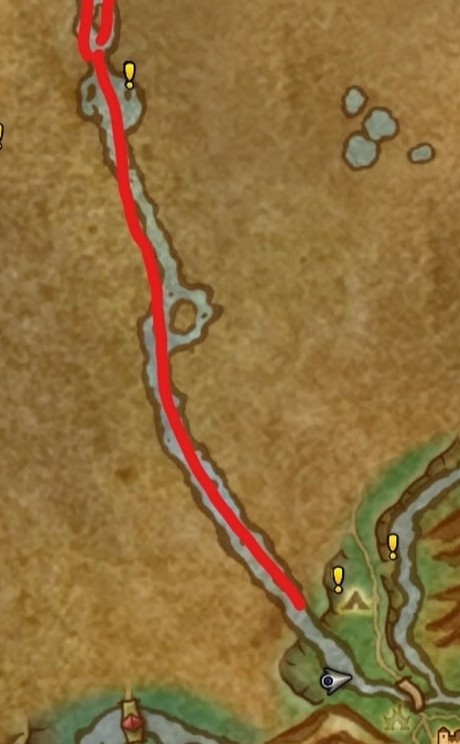
Continue repeating this until you have enough. Return to the cauldron and you’ll now be able to obtain the Ruddy Sporeglider.
Vivacious Chloroceros
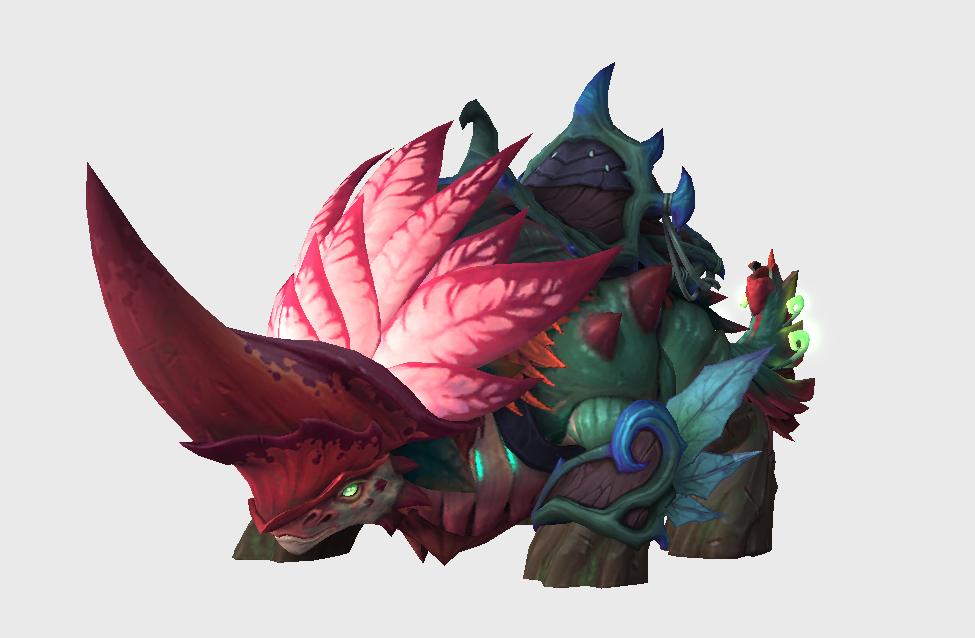
The Vivacious Chloroceros requires you to complete the rest of the treasures found around Harandar. Most are simply a case of flying to the location and looting them.
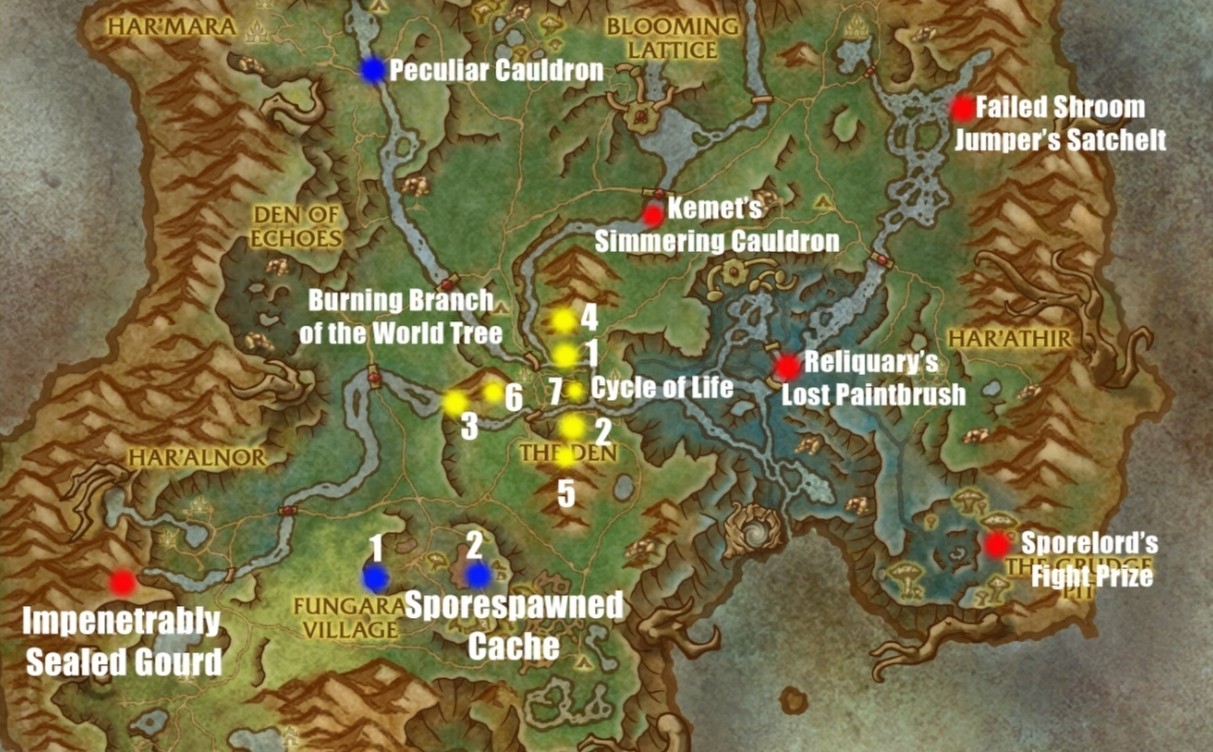
A few have additional steps where you need to find an item nearby or complete a small puzzle first, but nothing is particularly difficult.
If you are using Zygor then this is another good place to load the Harandar treasure guide and follow each location in order instead of trying to keep track of what you’re missing.
Complete all of the required treasures and you’ll receive the Vivacious Chloroceros.
Abundance Mounts
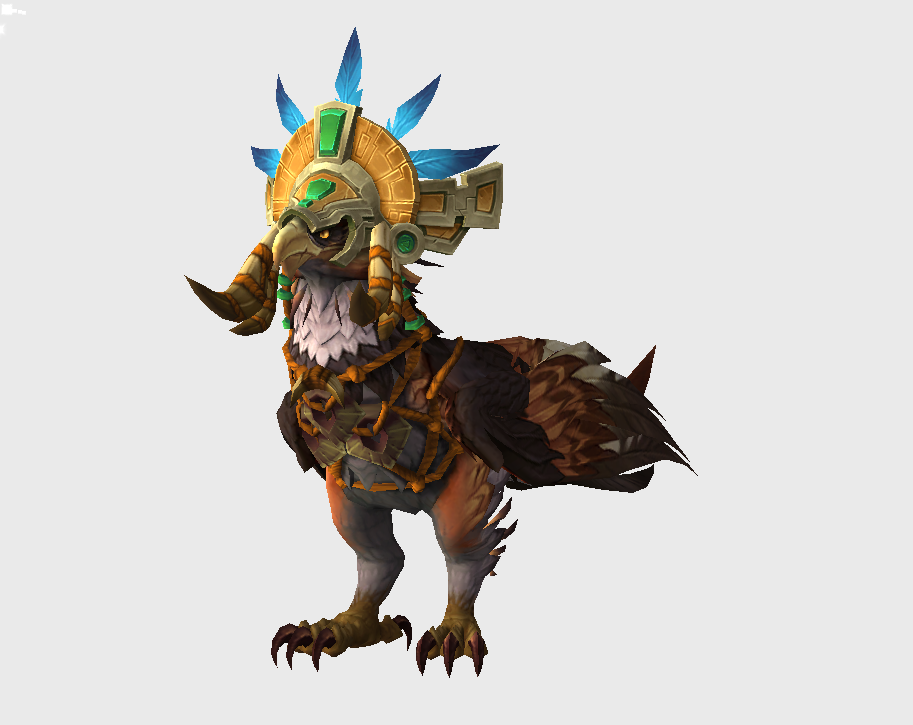
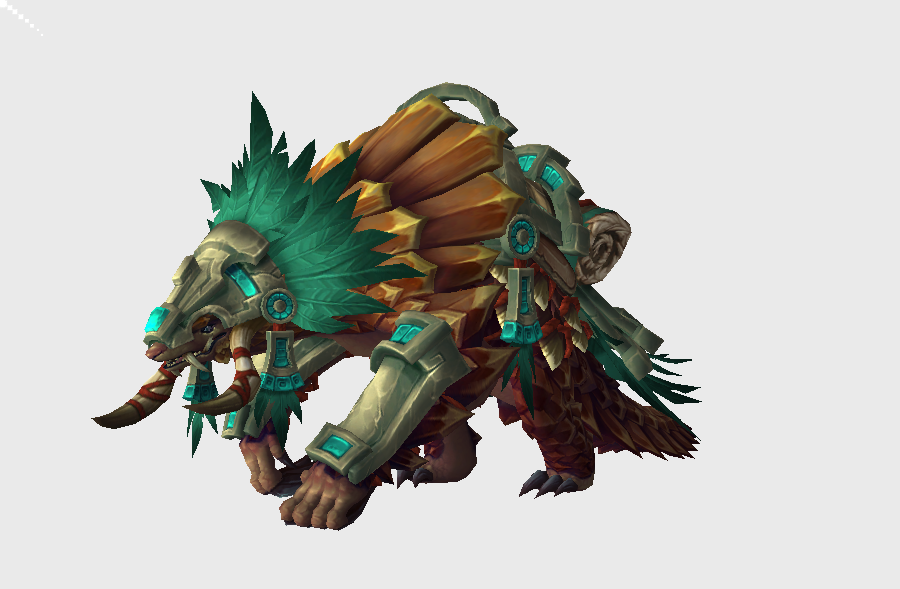
The next two mounts come from the Abundance system in Midnight. These are the Amani Sunfeather and Blessed Amani Burrower. Each one costs 6,400 Unalloyed Abundance.
This grind has become a lot faster now that you can use up to eight Shards of Dundun at the same time. You’ll receive two Shards of Dundun each week from the weekly quest found next to whichever Abundance event is currently active.
For the remaining shards you can get them from professions, or another method I’ve found fairly good is simply looting treasures around Zul’Aman.
Once you have eight Shards of Dundun head to the active Abundance and use all eight. Now complete the event and contribute as much as possible. Kill enemies, interact with the objectives, loot anything available and hand your resources into the shrines.
If you contribute enough then by the end of the run you should receive over the 6,400 Unalloyed Abundance needed for one mount. You can then log onto an alt and repeat the process again. This lets you get enough currency for both mounts within the same week.
Auriferous Venomfang
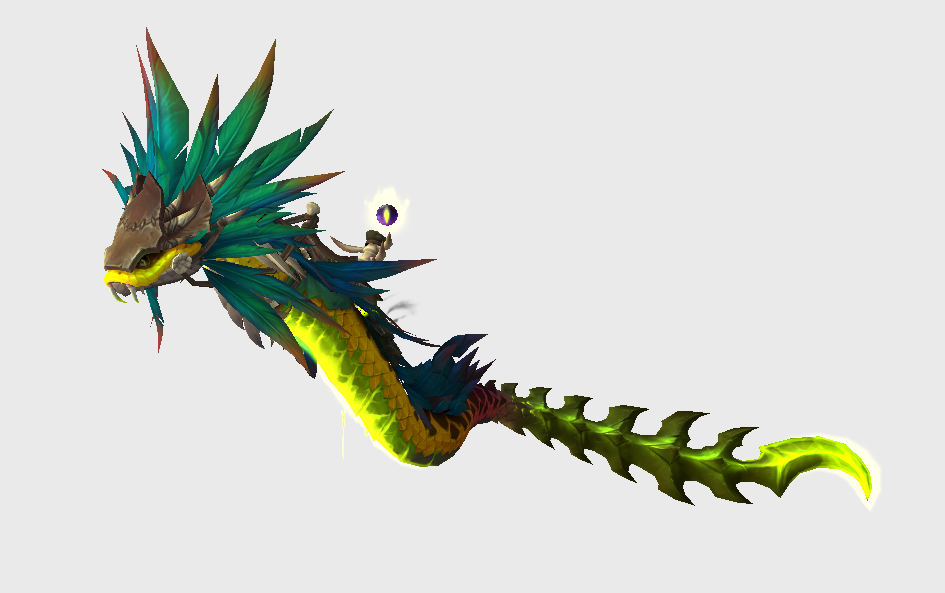
The Auriferous Venomfang is obtained by completing the Treasures of the Coiled Isle achievement. This requires you to collect all of the treasures found throughout the Coiled Isle.
The majority are extremely simple and just require you to fly to the location and interact with them. There are a few that have additional requirements or small puzzles attached.
We already have a complete Treasures of the Coiled Isle guide that covers every location and what you need to do, so instead of repeating all of them here I’d recommend following that.
Once all of the treasures are completed you’ll receive the Auriferous Venomfang.
Domesticated Razorback
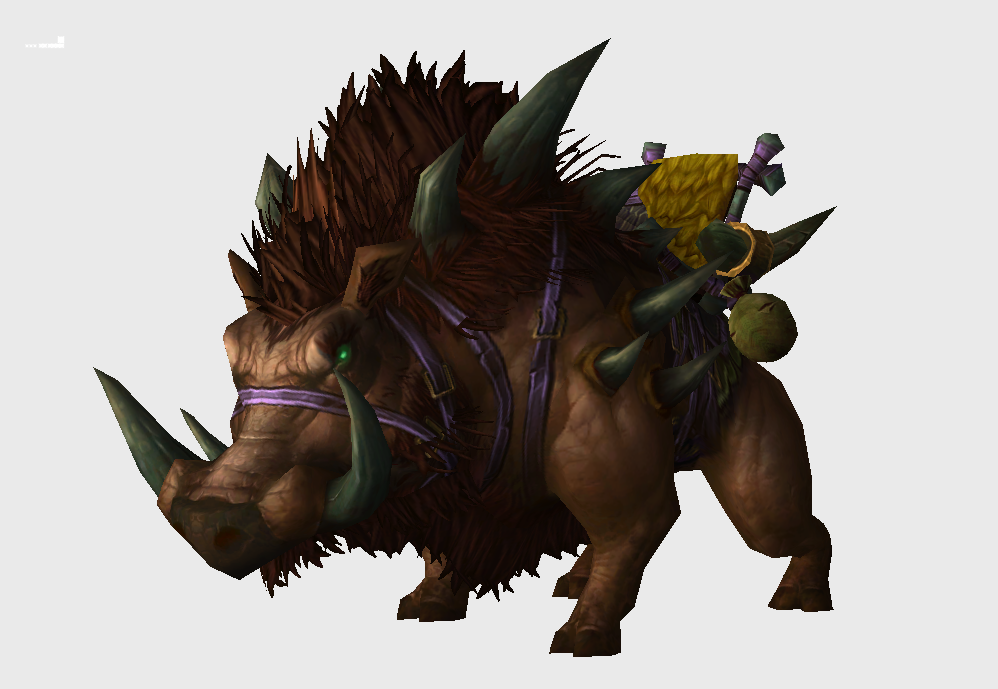
The Domesticated Razorback comes from reaching Exalted with the Steamwheedle Preservation Society in Draenor.
Head to Nagrand and start by killing the rares around the left side of the zone. These drop various claws, fangs and other items that can be handed into the faction for reputation.
Once you’ve cleared the available rares head over to the uninstanced version of Highmaul. There are a large amount of ogres here that you can farm in a loop.
You’ll be looting relics that can be handed in for reputation, so just keep looping this area until you have enough to reach Exalted.
You’ll also need 5,000 Apexis Crystals to purchase the mount. An easy way to get these is by killing Doom Lord Kazzak in Tanaan Jungle. You can kill him once on multiple characters and receive around 1,000 Apexis Crystals each time, then move the currency over to the character you’re purchasing the mount on.
Once you have the reputation and currency, purchase the Domesticated Razorback.
Red Flying Cloud
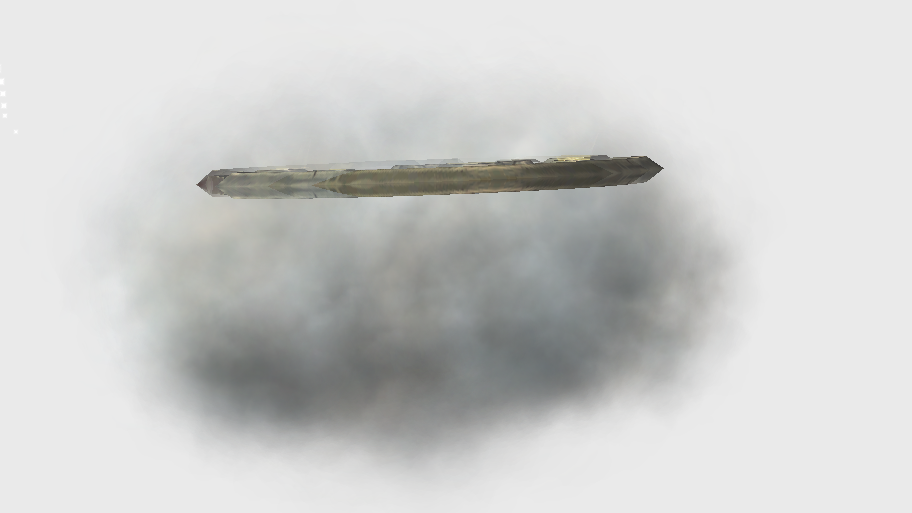
The Disc of the Red Flying Cloud comes from The Lorewalkers reputation in Pandaria. This reputation is one of the more unique, as to gain reputation you will fly around and discover various lore items to complete achievements, these will provide reputation and also quest hand ins for more reputation.
These objects are spread throughout all of the original Pandaria zones. You’ll want to collect them all to ensure you have enough reputation but with skyriding it doesn’t take long.
Use an addon like Zygor to help you navigate to all the lore items. Once you have them all, head to Vale of Eternal Blossoms, loot your mail box and head just above Mogu’shan Palace. Here you will hand in the quest items to Cho. One small tip here is after handing one in, fly away from the area and then return. This will reset the RP.
Once you reach Revered speak to the quartermaster and purchase the reputation commendation to double your remaining gains. Continue handing in the remaining items until you reach Exalted and then you can purchase the Disc of the Red Flying Cloud from the quartermaster.
Colossal Ebonclaw Mawrat
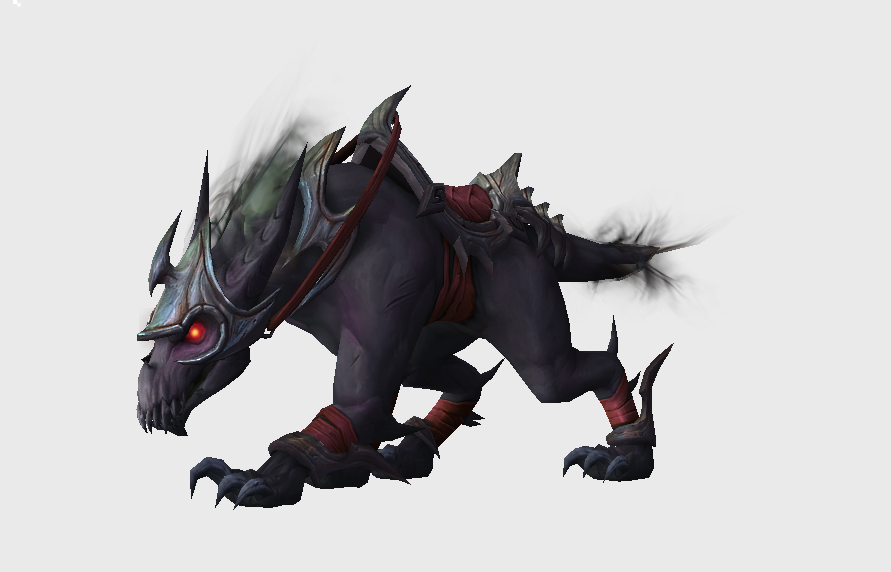
The Colossal Ebonclaw Mawrat comes from the Jailer’s Gauntlet in Torghast. You’ll need to progress through until you reach Layer 4.
As a leveled Midnight character the enemies inside are extremely trivial now so you should be able to blast through each layer without much trouble. Complete Layer 4 and you’ll receive the Colossal Ebonclaw Mawrat.
Rusted and Ironbound Proto-Drake
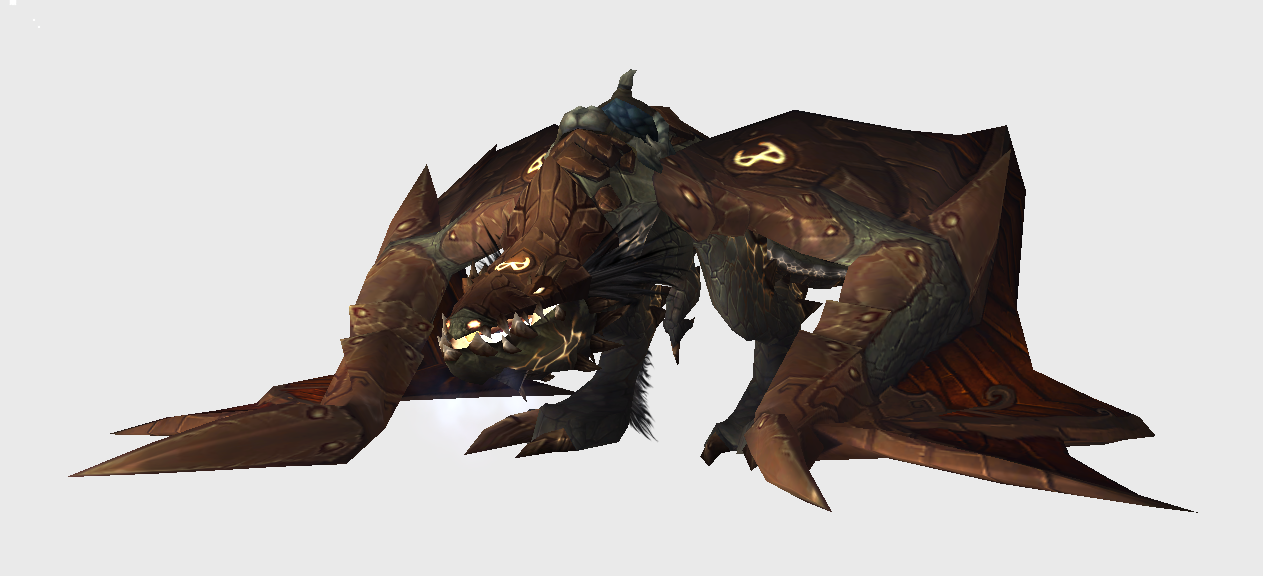
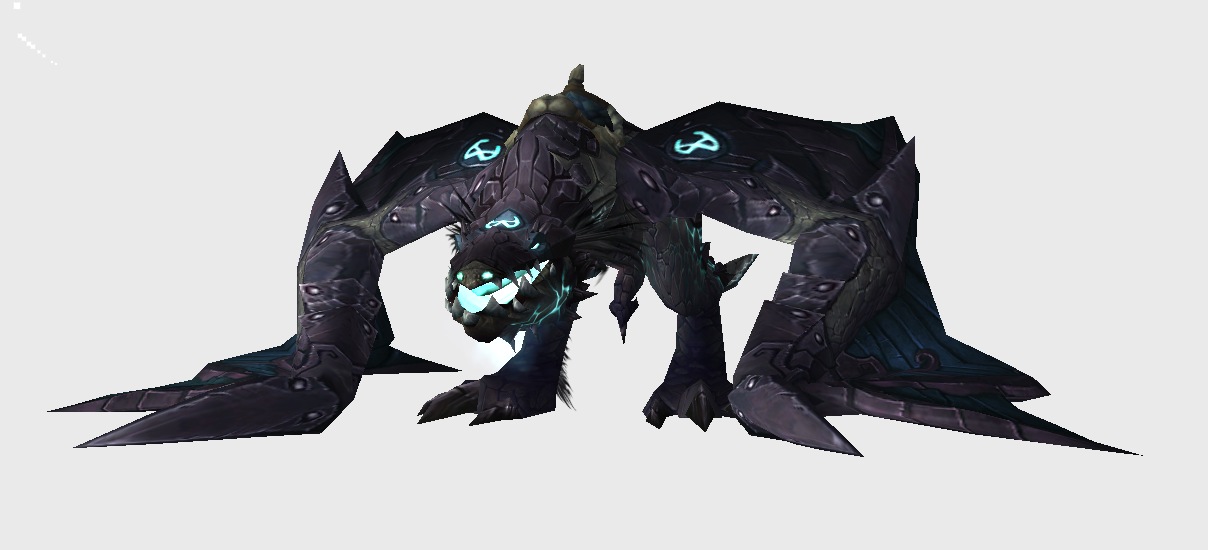
The next two mounts both come from completing the Ulduar Glory achievement.
The majority of achievements are extremely easy now and are simply things like defeating the boss in a certain way or activating an old hard mode. There are only two I’d really watch out for.
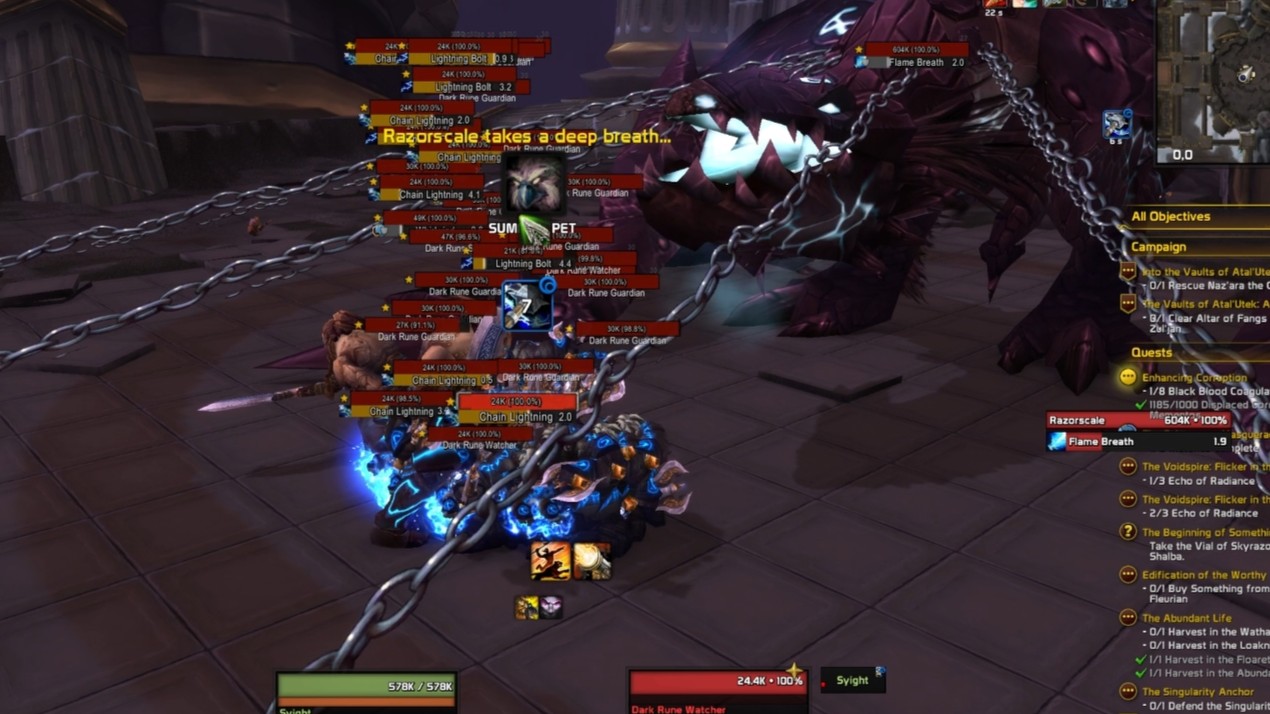
The first is Iron Dwarf, Medium Rare. For this pull Razorscale but don’t kill anything too quickly. Allow the NPCs to repair the harpoons and keep the enemies alive until you have enough Dark Rune Guardians available. Once enough have spawned use the harpoons to bring Razorscale down.
Position the mobs in front of the boss and allow Razorscale’s breath to kill them. If you don’t get enough in one attempt you can reset the fight and repeat it as your progress towards the achievement will remain.
The other one that can cause problems is Heartbreaker from XT-002 Deconstructor because you will probably kill the boss too quickly. Take off your gear and use a Whole-Body Shrinka’ if you have one.
The toy can be purchased on a Horde character but once learned can be used across your account. This reduces your damage enough that you can slowly bring XT below 50%. Once the heart appears, destroy the heart and then finish the boss.
Complete the rest of the Ulduar achievements and you’ll receive both the Rusted Proto-Drake and Ironbound Proto-Drake.
Long but Efficient Grinds
These will be grinds that will take you over an hour but are still time efficient for your mount collecting journey
Riding Talbuks
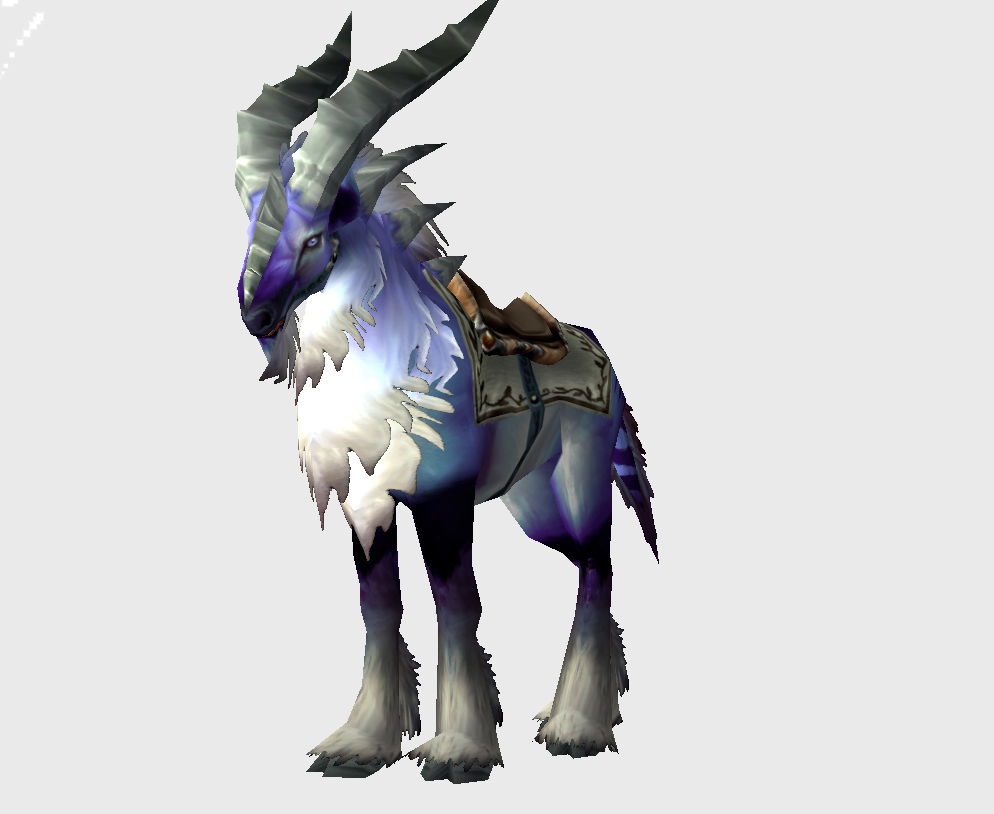
For the final main grind we’re getting eight mounts at the same time.
Alliance players will be working on the Kurenai reputation while Horde players will use The Mag’har. Both factions have the same eight Talbuk mounts available once you reach Exalted.
To start, head to your faction’s hub in Nagrand and complete their introductory quests. This should get you up to Neutral reputation.
From here the grind is very straightforward. Find one of the large ogre camps in Nagrand and start farming them. You’ll gain reputation directly from each ogre you kill and they will also drop Obsidian Warbeads.
These Warbeads can repeatedly be handed in for even more reputation. So simply kill the ogres, collect the beads, hand them in and repeat. The full grind should take around two and a half hours depending on your kill speed and how much competition there is.
Once you reach Exalted head to the faction vendor and purchase all eight Talbuks. It’s one of the longer grinds in the guide but getting eight mounts at once makes it one of the best options if your main goal is simply increasing your total collection.
Honorable Mentions
These mounts are worth looking into while you are on your journey to get the other listed mounts as they are a bit more conditional but potentially worth it.
Zenet Hatchling
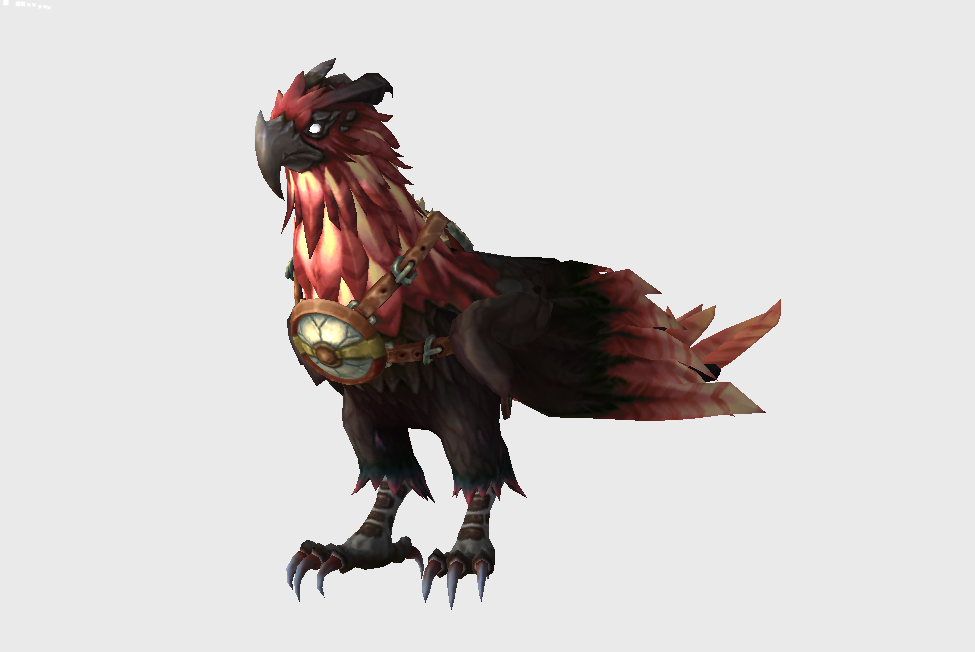
The first is the Zenet Hatchling from Zenet Avis in the Ohn’ahran Plains. This rare is left alive a lot more often now that Dragonflight isn’t current, so there’s a decent chance you may find it alive.
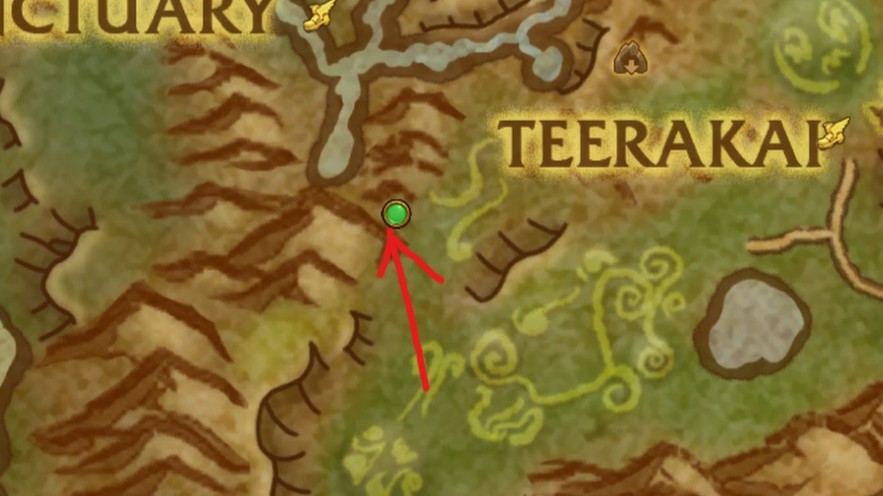
If it is up, kill Zenet Avis and you’ll receive a Zenet Egg. The egg itself takes seven days to hatch, so you won’t technically receive the mount on the same day, but getting the required item is guaranteed if the rare is available.
Primal Egg
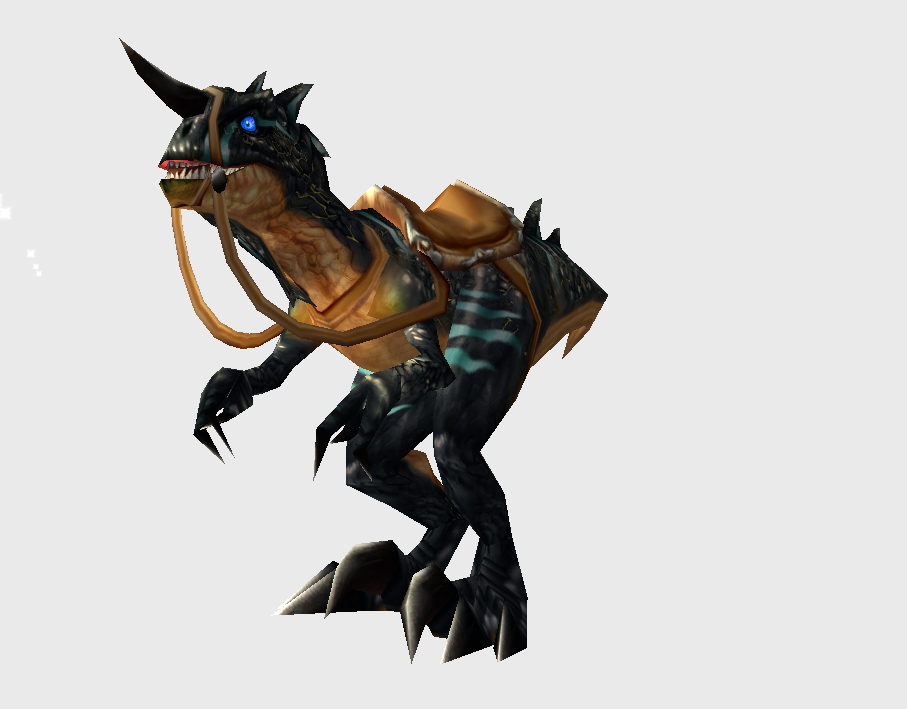
Another one worth a short grind for is the Primal Egg, this typically takes about 20-30mins of grinding mobs on the Isle of Giants for a drop.
Head to the island and kill the mobs here until you receive a Primal Egg. Tthe egg will eventually hatch into one of the Primal Raptor mounts.
Draenor Mount Rares
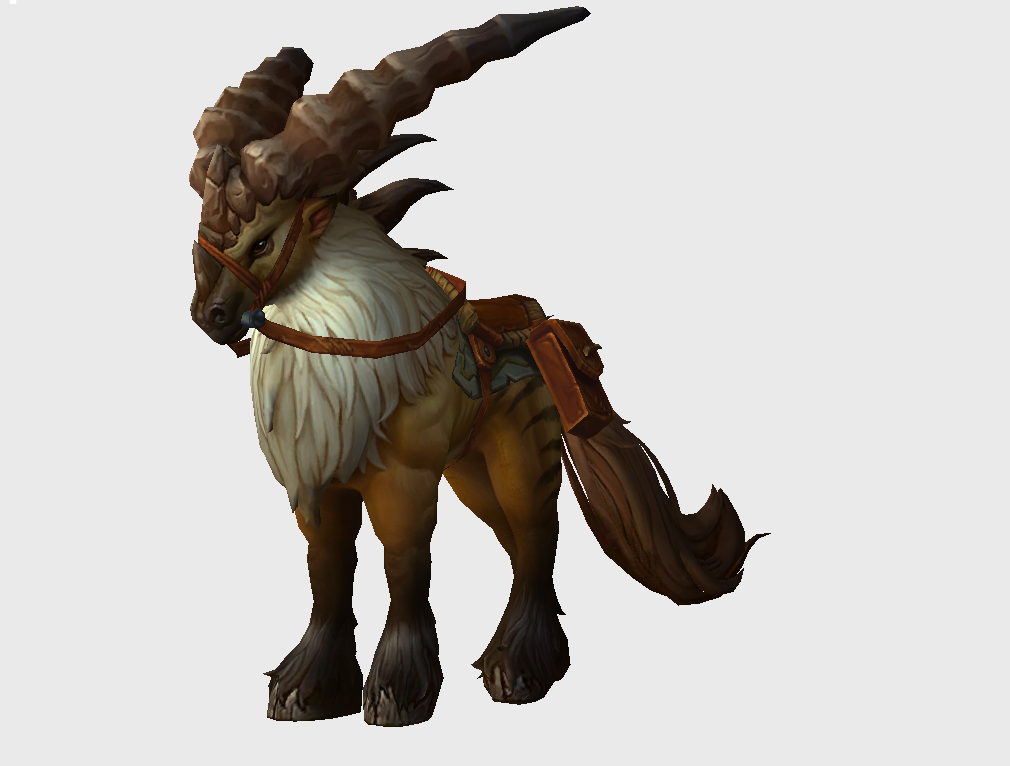
While you’re already travelling through Draenor make sure you check for the various mount rares around the zones.
The majority of these mounts are guaranteed to drop if the rare is alive. They aren’t worth sitting around camping as part of this guide, but if you’re already in the zone it only takes a few seconds to check whether one is available.
Frostfire Ridge (Gorok)
/way Frostfire Ridge 23.0 65.6
/way Frostfire Ridge 52.2 50.4
/way Frostfire Ridge 58.4 19.2
/way Frostfire Ridge 63.6 79.6
/way Frostfire Ridge 65.0 52.6
Gorgrond (Poundfist)
/way Gorgrond 42.0 25.0
/way Gorgrond 43.0 55.0
/way Gorgrond 45.0 47.0
/way Gorgrond 47.0 54.0
/way Gorgrond 51.0 43.0
Talador (Silthide)
/way Talador 54.0 46.0
/way Talador 62.0 48.0
/way Talador 67.0 29.0
/way Talador 68.0 41.0
/way Talador 79.0 55.0
Shadowmoon Valley (Pathrunner)
/way Shadowmoon Valley:Draenor 40.0 54.0
/way Shadowmoon Valley:Draenor 46.0 68.0
/way Shadowmoon Valley:Draenor 54.0 46.0
/way Shadowmoon Valley:Draenor 56.0 51.0
/way Shadowmoon Valley:Draenor 56.0 58.0
Nagrand (Luk’hok and Nakk)
/way Nagrand:Draenor 66.6 43.2
/way Nagrand:Draenor 73.0 53.6
/way Nagrand:Draenor 76.2 30.4
/way Nagrand:Draenor 79.4 55.4
/way Nagrand:Draenor 84.8 63.8
/way Nagrand:Draenor 50.0 34.0
/way Nagrand:Draenor 55.0 35.0
/way Nagrand:Draenor 60.0 15.0
/way Nagrand:Draenor 62.0 22.0
/way Nagrand:Draenor 64.0 20.0
Sons of Hodir
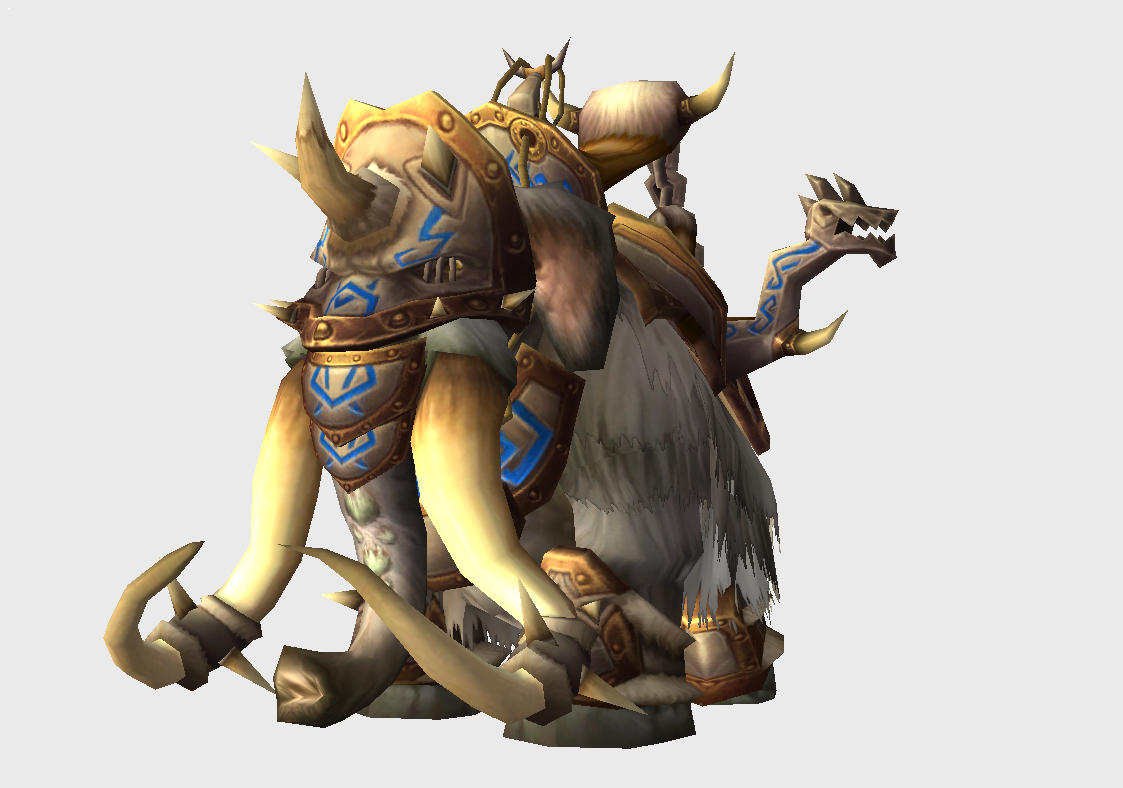
The last conditional option is the Sons of Hodir reputation.
This is mainly worth doing while Wrath of the Lich King Timewalking is active because of the increased reputation gains. Head to Storm Peaks and work through the Sons of Hodir questline. You’ll find the first quest in K3 from a goblin.
With the Timewalking reputation bonus active the questline itself will take you a to Exalted, otherwise you can complete the reputation via Relics of Ulduar handins which are typically quite cheap on the auction house.
Once Exalted you’ll be able to purchase their Ice Mammoth mounts.